 | ||
 |
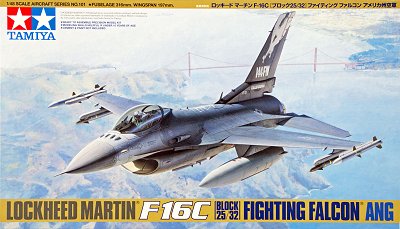
F-16C Fighting Falcon
144th Fighter Wing, California Air National Guard |
 |
| The Kit | |
| Released in 2008, this kit represents the single seat, block 25/32 version which entered production in 1984.
It comes with 7 sprues in the usual grey color, two sprues of weapons in darker gray a small clear sprue and two canopies, one in clear and one tinted brown. Although not a new kit, the parts are still crisp and flash free. The kit cockpit is reasonably well detailed with numerous knobs, buttons and switches. The kit can be built as either a Block 25 or a block 32 There are three options for unit markings, 188th FW, Arkansas ANG and two versions for the 144th FW, California ANG. The kit also comes with numerous underwing option which are listed later on. For those of you who like to enhance the panel lines, the lines of this kit are crisp and deep enough that no additional scribing should be necessary. This is also my first use of Aires resin parts. The original plan was to use this kit as a test bed with just the cockpit set for an upcoming build on an F-14A but managed to lose my sanity and the grip on my credit card and go off the deep end with the after market detail parts (again)
|
|
| The Build | |
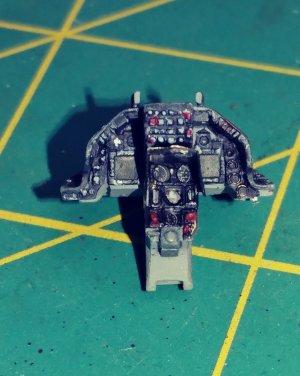
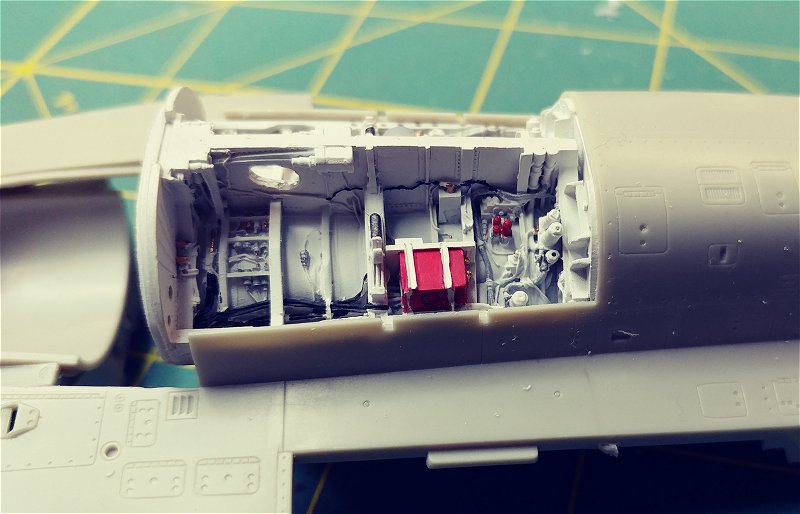
| Cockpit
The build starts with the cockpit, I'll be using the Aries Cockpit, but I've built the kit cockpit as well for comparison between the two. It's reasonably well detailed but not to the extent of the Resin version but also a lot easier to install. Installing the Aries cockpit requires substantial modification of the upper and lower fuselage sections. The upper fuselage requires removal of a section behind the seat and details inside the cockpit walls along with large amount of the resin from the casting itself. Since I'm new at this, it's taking a while to get the feel of it. |
 |

|
|
|
|
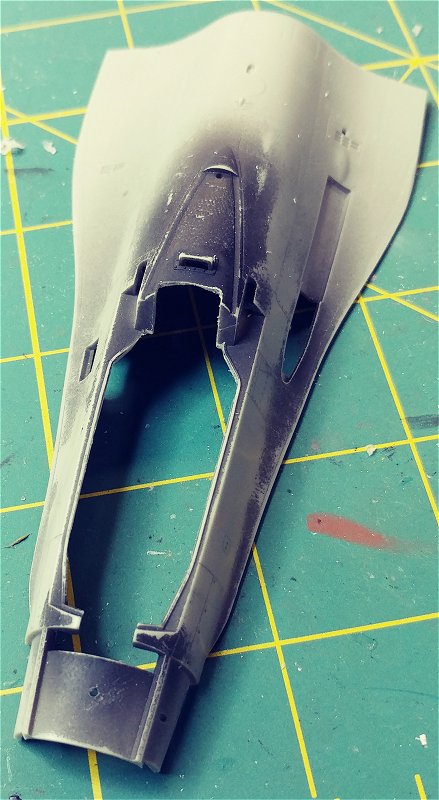
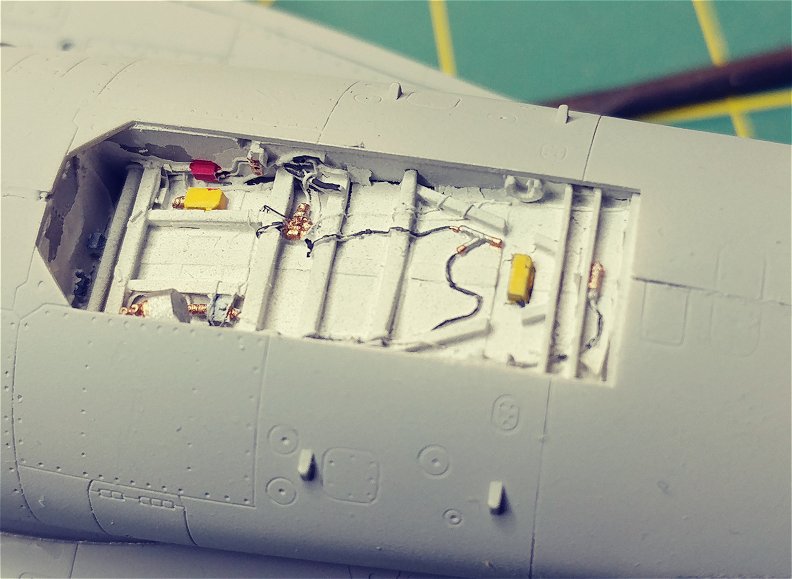
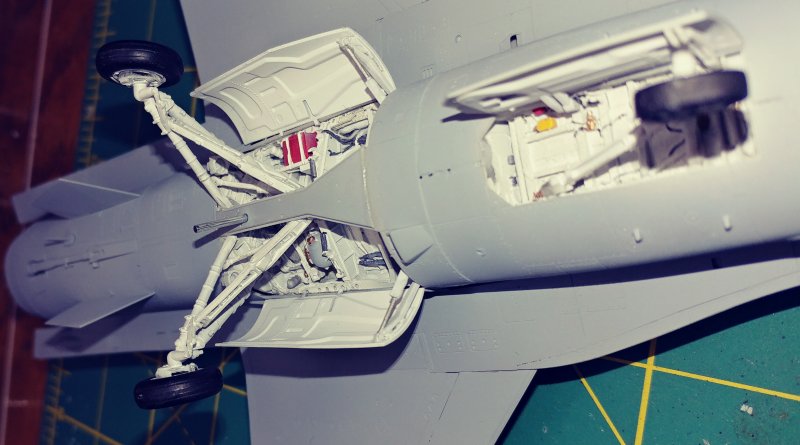
| Landing Gear Bays
Again, I 'm using Aries to enhance the look of the landing gear bays. They look good, and doesn't require anywhere near the amount of trimming and shaping as the cockpit. It mates perfectly with the top half of the air duct. and fit in with only as relatively minimal amount of trimming I did have issues with alignment though my inexperience with resin. I was too far back by a couple microns, and had to thin the main gear plate and the front end was a bit too low by about the same requiring additional modification. The nose wheel bay on the other hand required a large amount of trimming and sanding to the point where I was worried about removing too much material. There were also molded on alignment pins and details that needed to be removed from the kit part. Once in, it looked nice and was worth the price and the effort. |

|
|
|
|
|
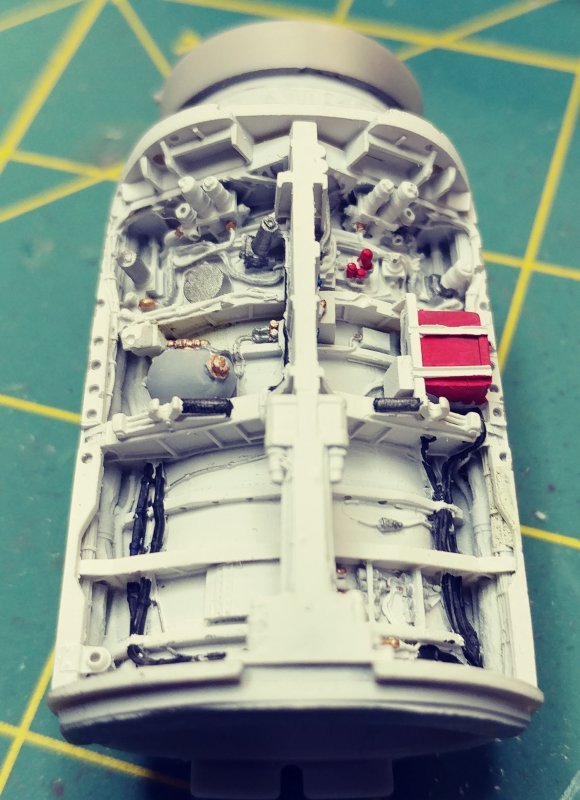
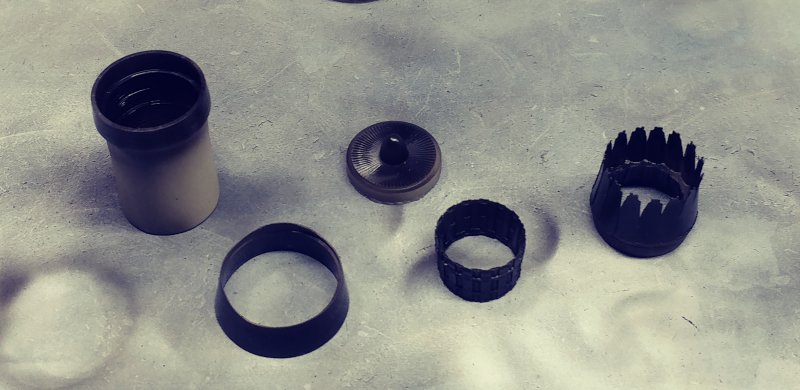
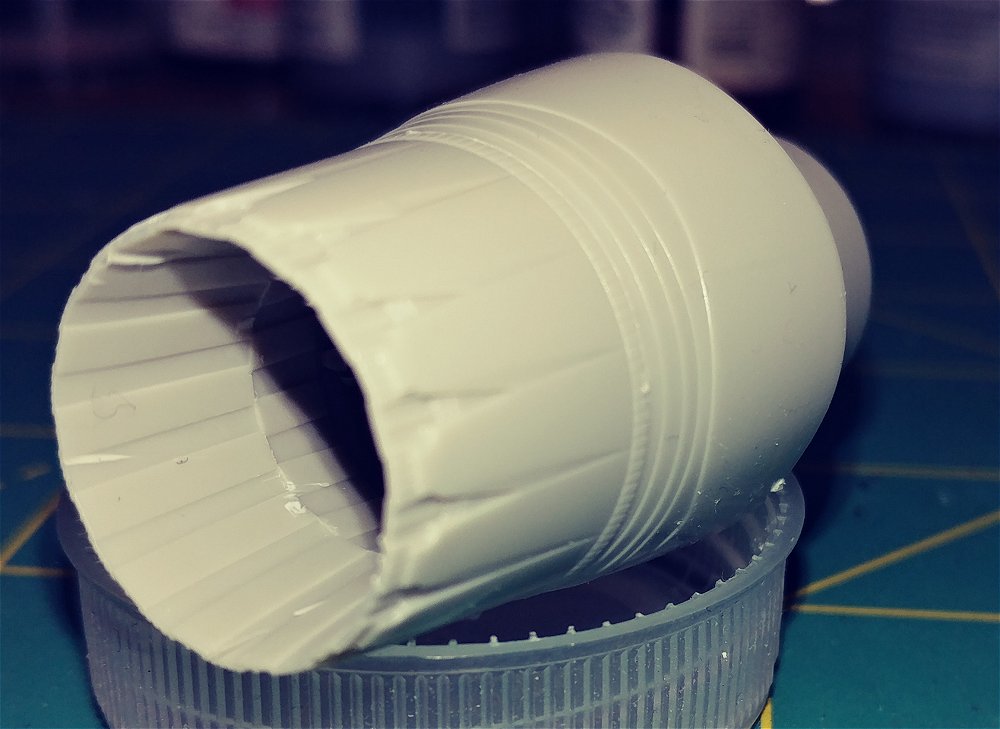
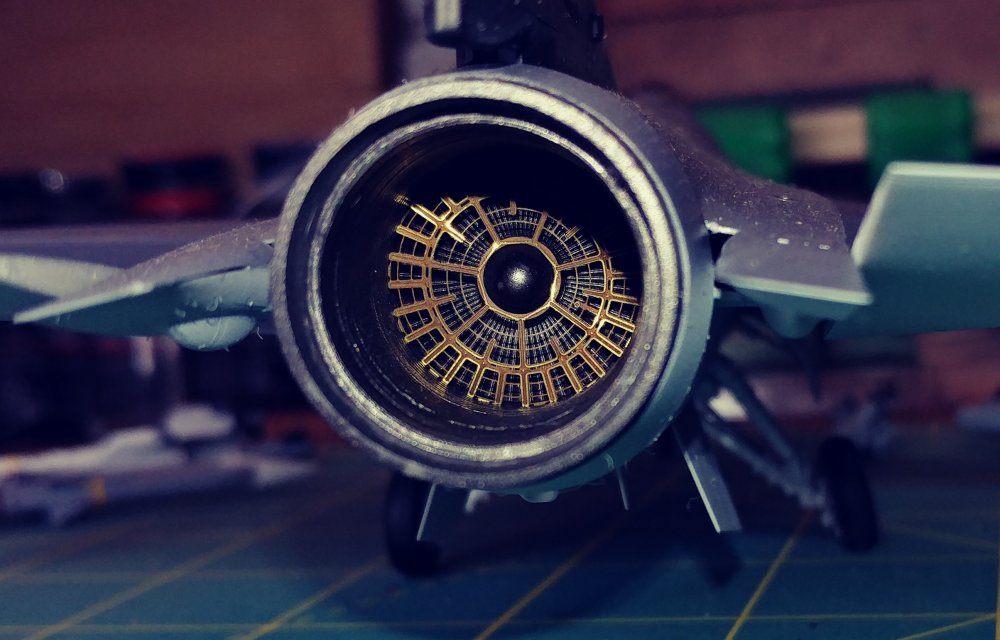
| Exhaust
Again, I'm using Aries resin parts to enhance the look of the exhaust although the kit parts have a decent amount of detail. The most noticeable difference is deep inside the afterburner at the rear of the engine where the photo etch and resin components add Of the three Aries kits I'm using, this was by far the easiest of the three. It requires a minimal amount of trimming and sanding. Primed and painted with various shades of Alclad (they're not as dark as they look in the photo) |

|


|
|
|
|
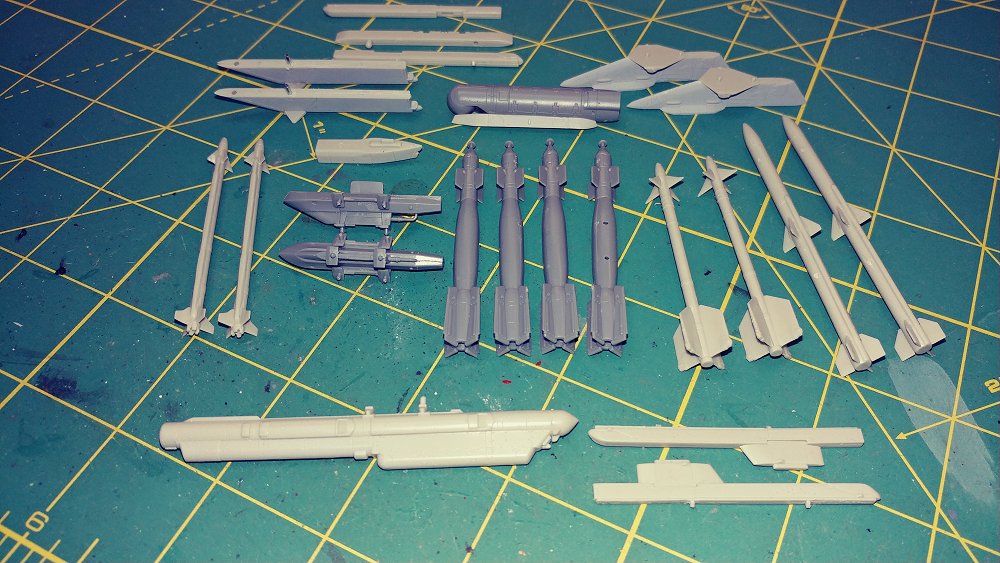
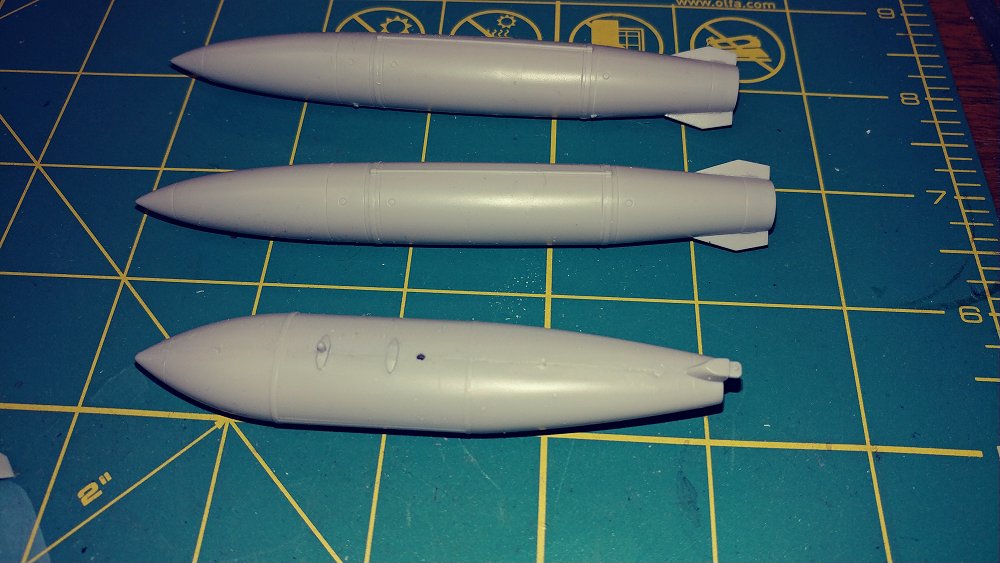
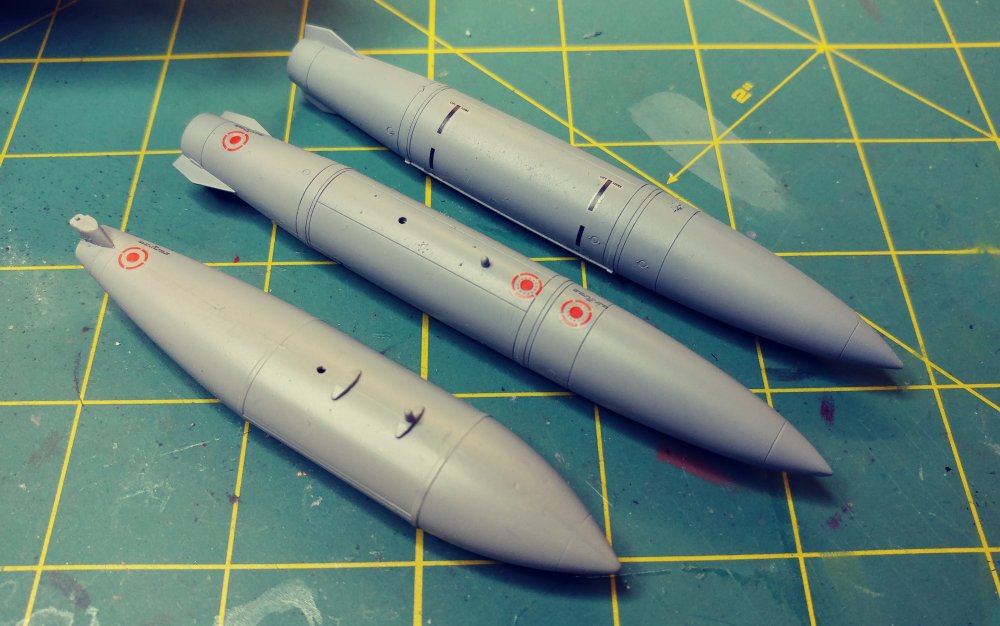
| Wing Stores
This kit comes with a large variety of underwing hardware from drop tanks to bombs and missiles allowing you to configure the aircraft for a number of different missions. Two each, AIM-9L, AIM-9X and AIM-120 AMRAAM. There are bomb racks for 6 of the GBU-12 Paveway II laser guided bombs, but surprisingly, there are only 4 bombs included in the kit. There's also a an AN/AAQ-28 Litening II, and an AN/ALQ-148 ECM Pods along with two 370 gallon Wing tanks and a 300 Gallon centerline fuel tank. |
|

|
|
|
|

|
|
|
|

| Build Notes
I love this kit, but then again I've always been a big fan of Tamiya. The kit cockpit is relatively well detailed as are the landing gear sticking out of the bottom of the aircraft. The exhaust nozzles are a little sparse on detail as are the landing gear bays but not to the point of being detrimental to the average Joe who wants a nice looking kit right out of the box sitting on the shelf. On the downside, it's trivial, but I wish Tamiya would reference Federal Standard or RAL color numbers in their painting guides. Not everyone uses their paints and I wouldn't have to look them up online.
The Aires resin parts serve to enhance areas that normally wouldn't be seen by the casual visitor to your personal museum but greatly enhance both the pleasure and the frustration of someone like me who like to add the small details.
Bone Head Section:
Miscellaneous stuff
| ||||||||||||||||||||
|
Products being used in construction
Aires
|