 | ||
 |
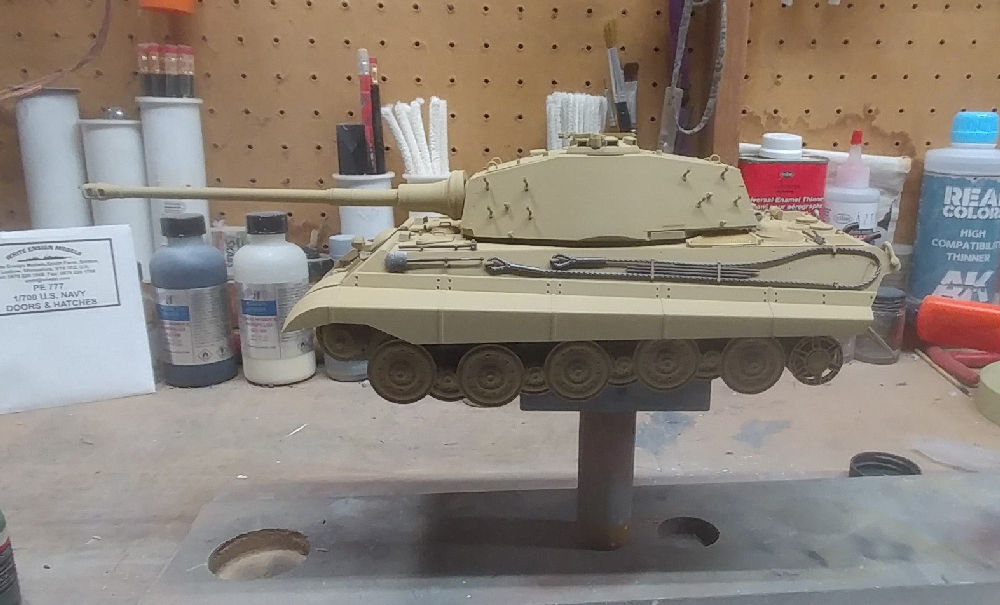
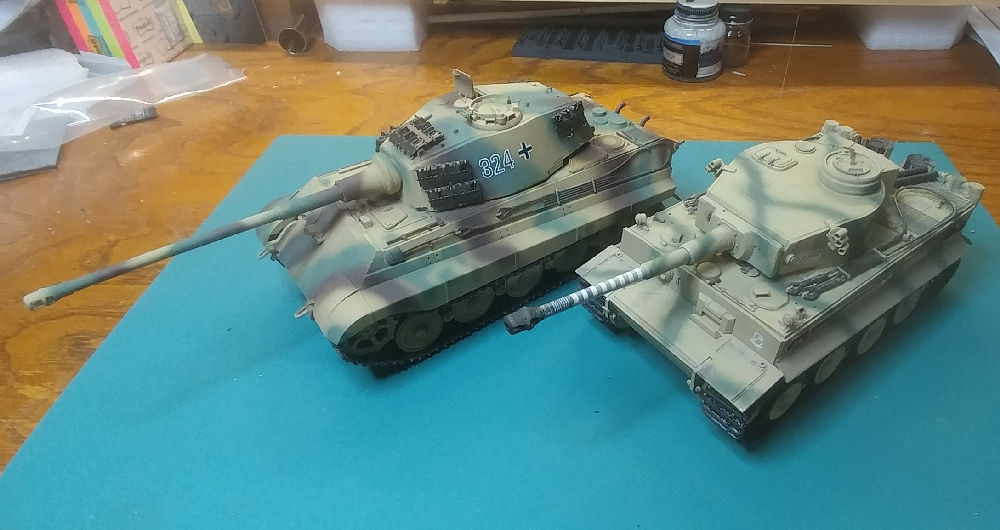
Panzerkampfwagen VI Aufs. B Tiger II
Sd.Kfz.182 Henschel Turret |
 |
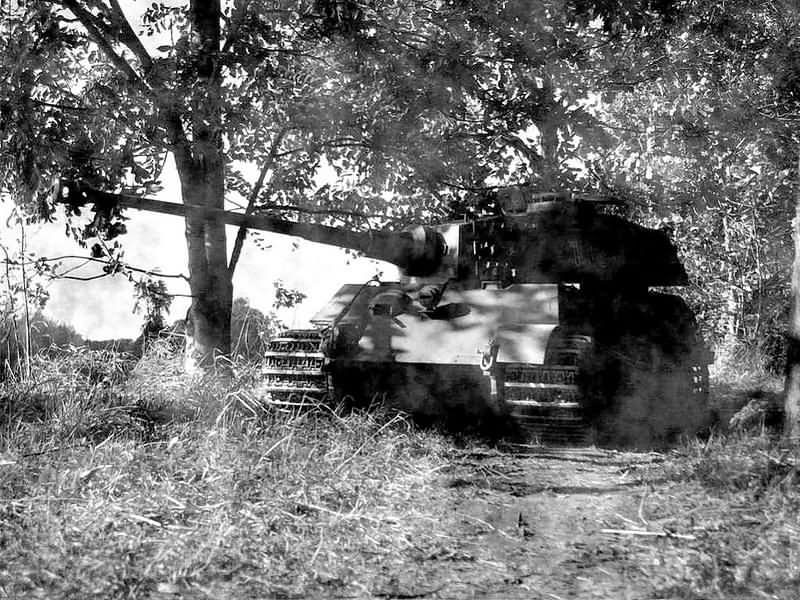
| The successor to the Tiger I, The Tiger Aufs. B commonly known as the King Tiger combined the thick armour of the Tiger I with the armour sloping used on the Panther medium tank. Weighing in at almost 70 tons, it was protected by 100 to 185 mm (3.9 to 7.3 in) of armour to the front. It was armed with the long barrelled 8.8 cm KwK 43 L/71 anti-tank cannon.
unreliable at first, due to leaking seals and gaskets, and a drive train originally designed for a lighter vehicle. The steering gear was initially particularly prone to failure. Minimal training and maintenance further compounded the issue c King Tigers first saw action against the British in July 1944 during the Normandy campaign. Two were lost in combat, while the company commander's tank Fell into a bomb crater and was unrecoverable. It's first appearance on the Eastern front came in Mid August in an attack on the Soviet bridgehead over the Vistula River |
|
||||||||||||||||||
| The Kit
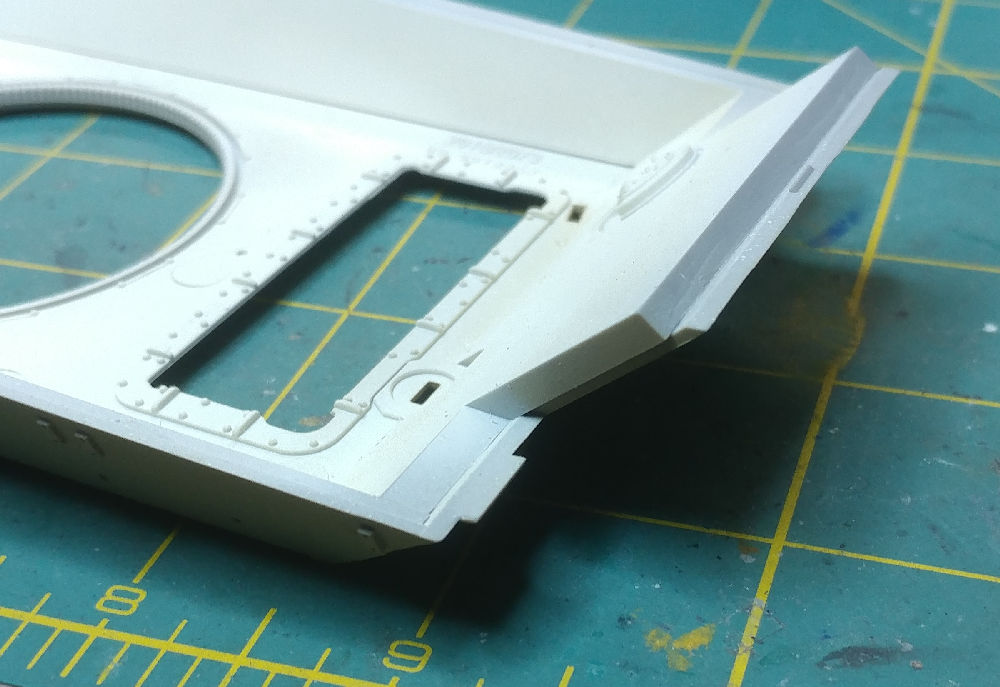
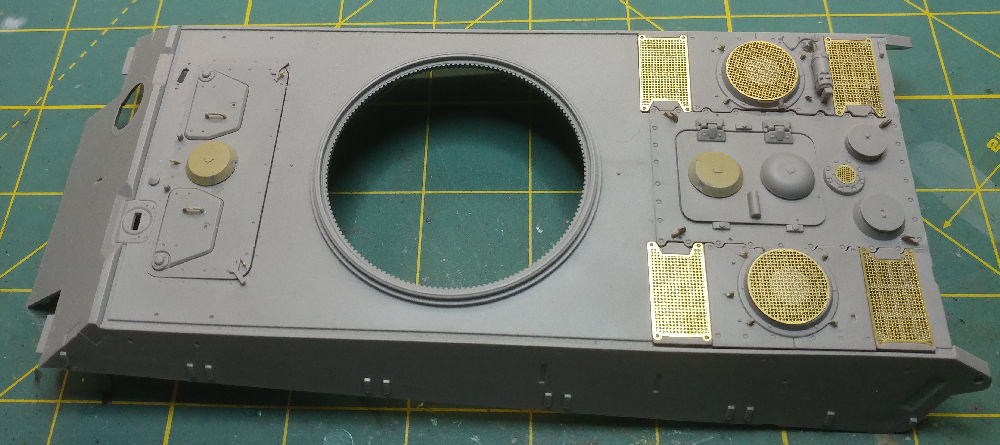
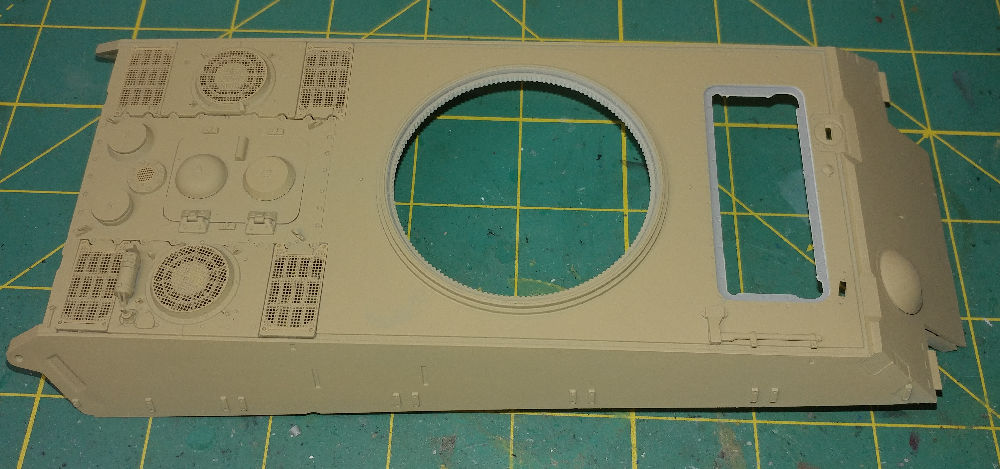
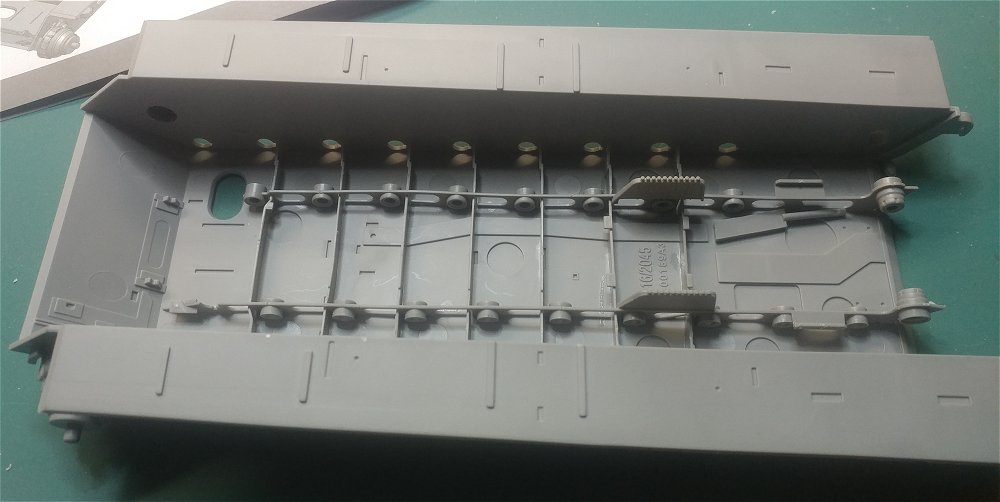
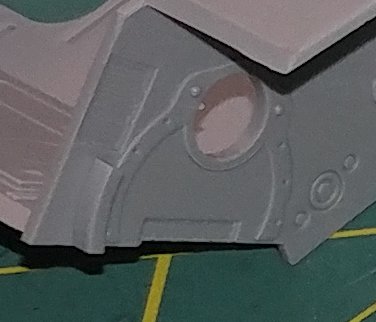
This is one of those kits where you open the box and say "WOW!". I dig through the box pulling out sprue after sprue molded in medium gray then come to the hull and turret and remember oh yeah, this kit is 1/35th. They look pretty small inside the large and tightly packed box. The parts are crisp , clean and very well detailed. This kit appears to have been designed with diorama enthusiast in mind. Every area of the kit has detail that will be covered up by other parts unless your plan is to model this in a repair yard with On the exterior of the lower hull there appear to be bolt holes where the main drive gear housing is located (and covered over) In an attempt to keep the interior components to scale, Takom has molded some of the parts extremely thin and almost delicate. One example are the frames on the floor of the lower Hull, I didn't take a micrometer to them, but they're probably close to scale.
|
| The Build
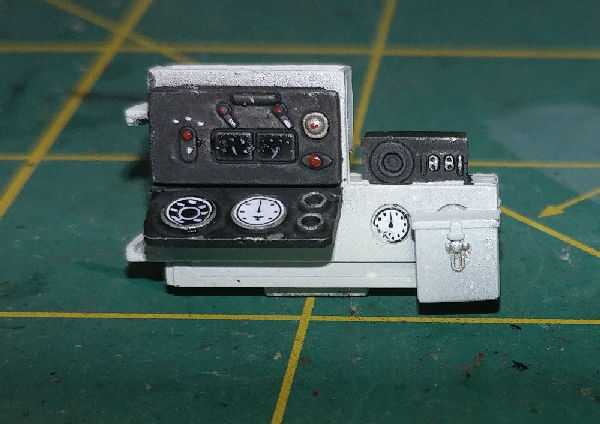
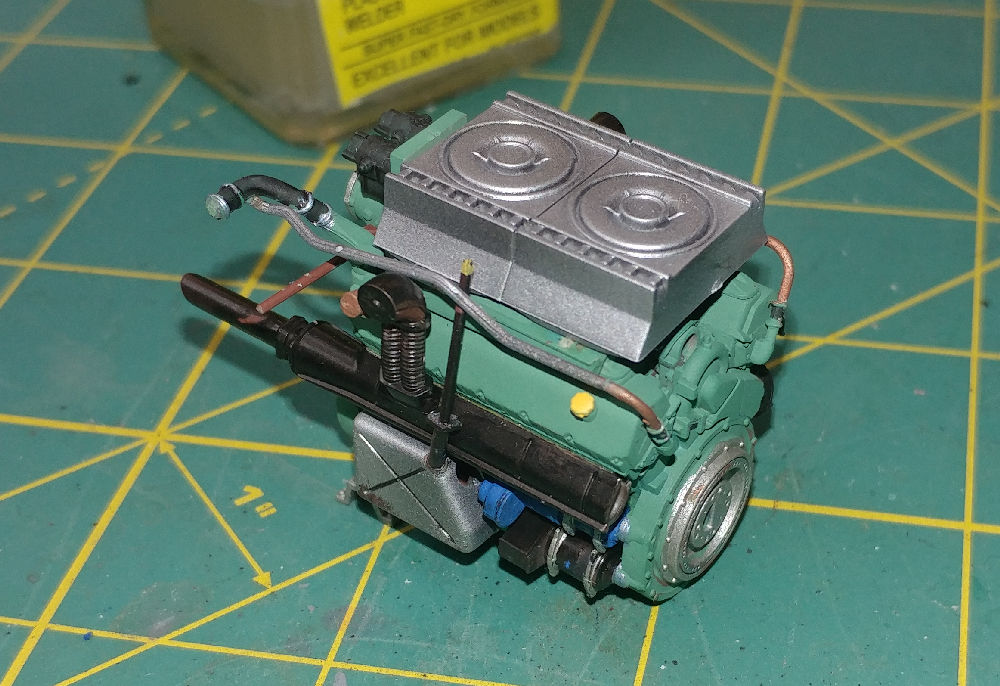
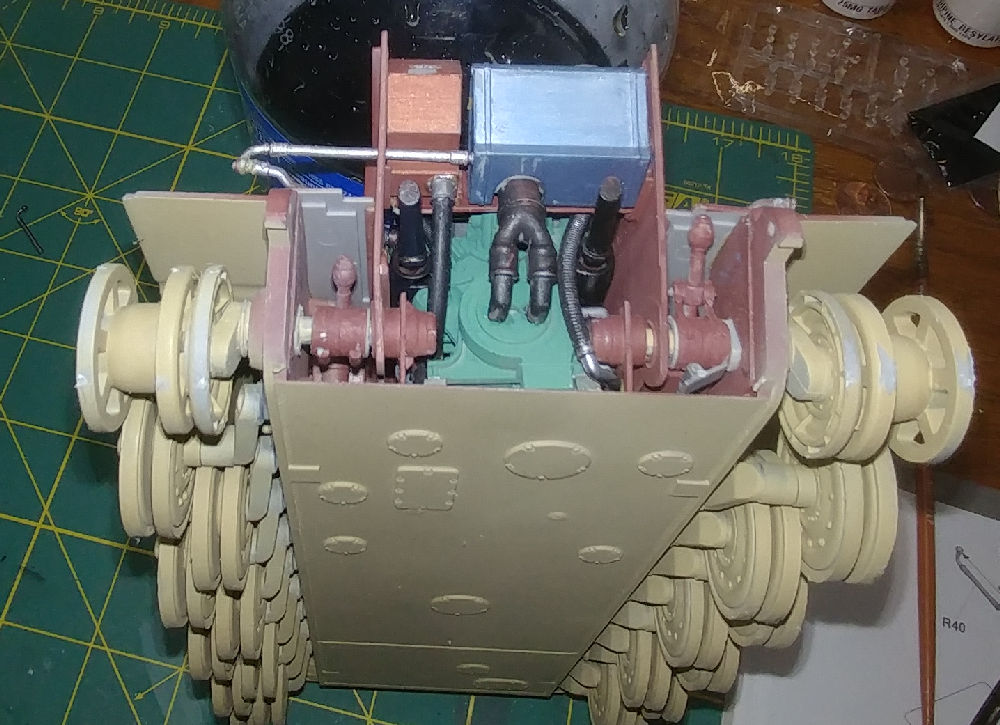
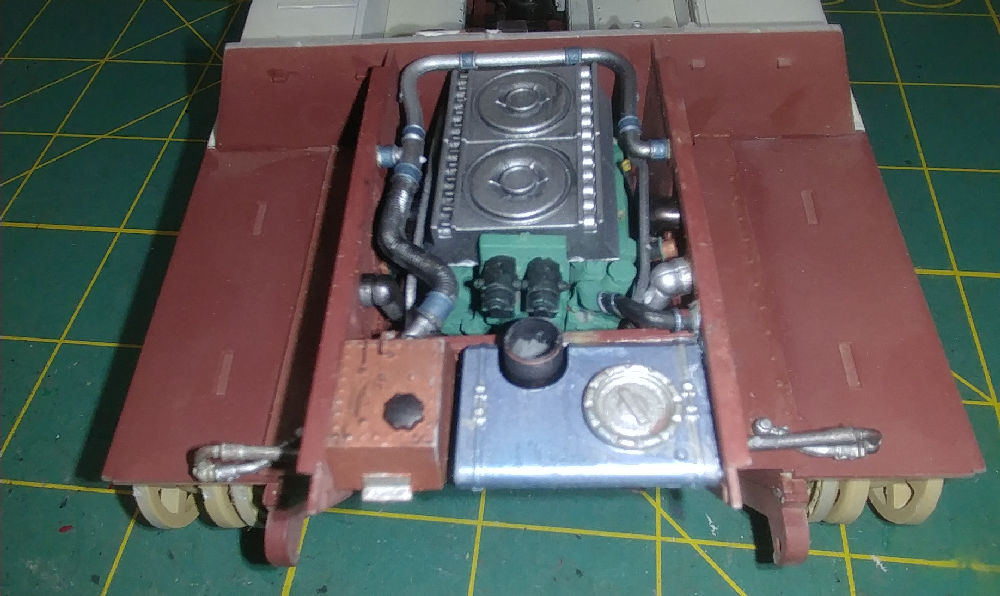
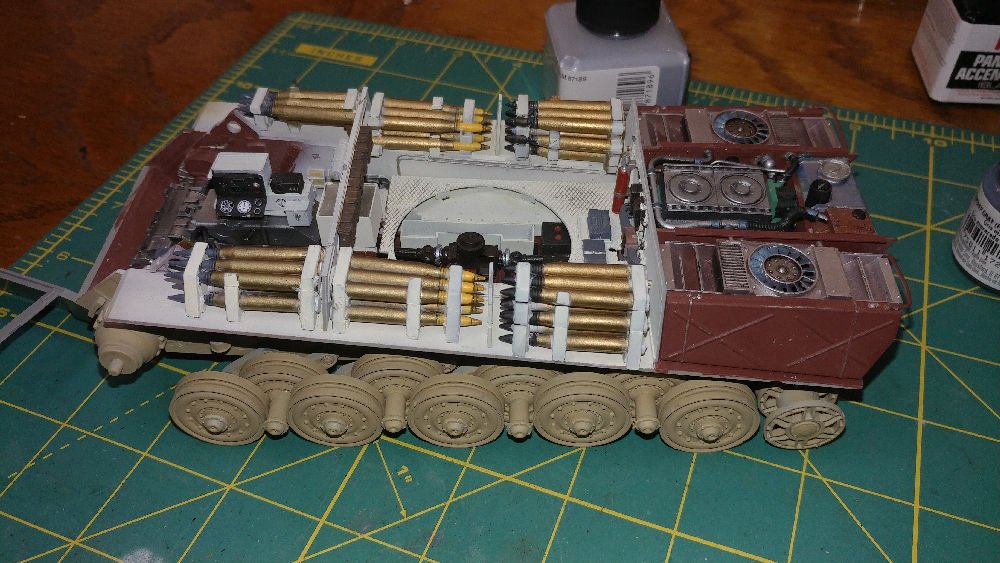
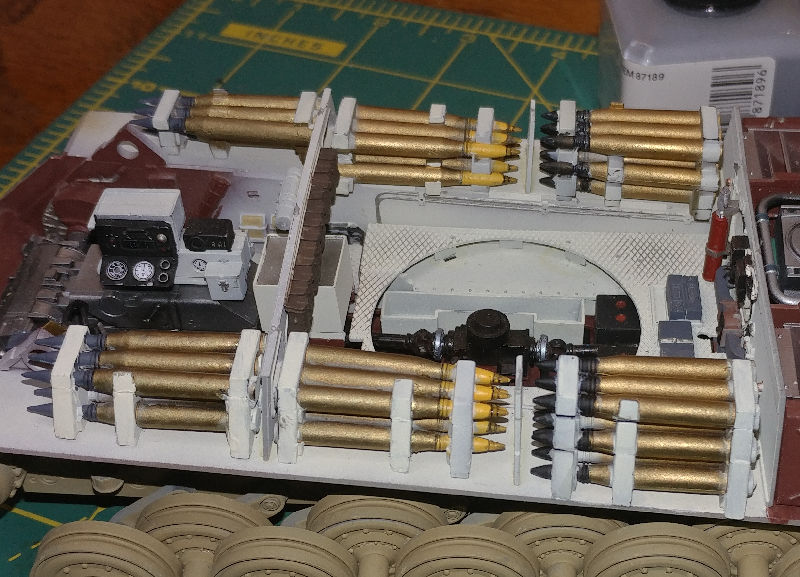
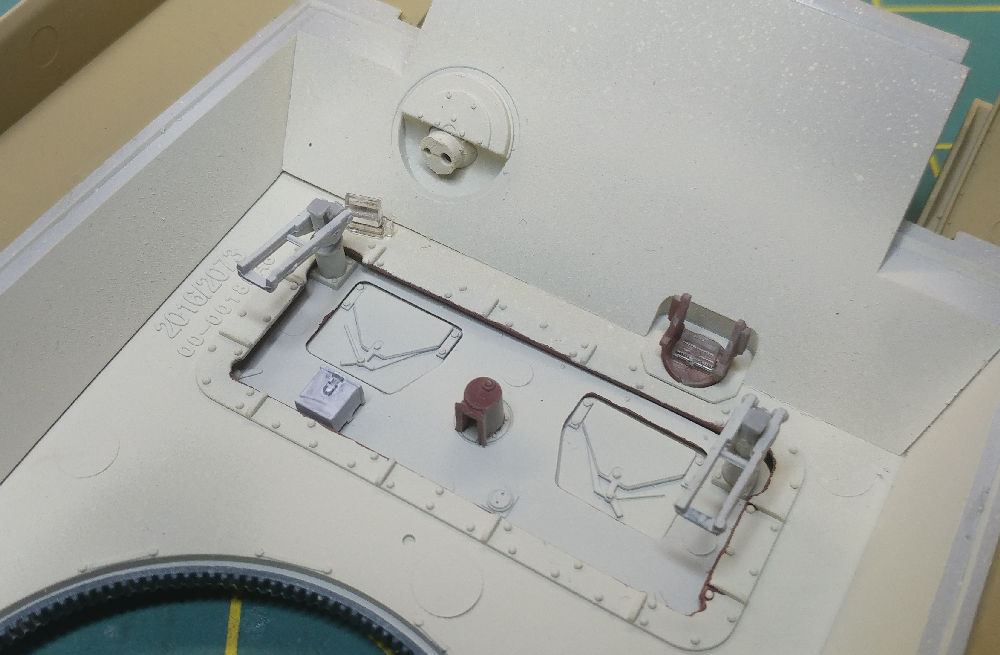
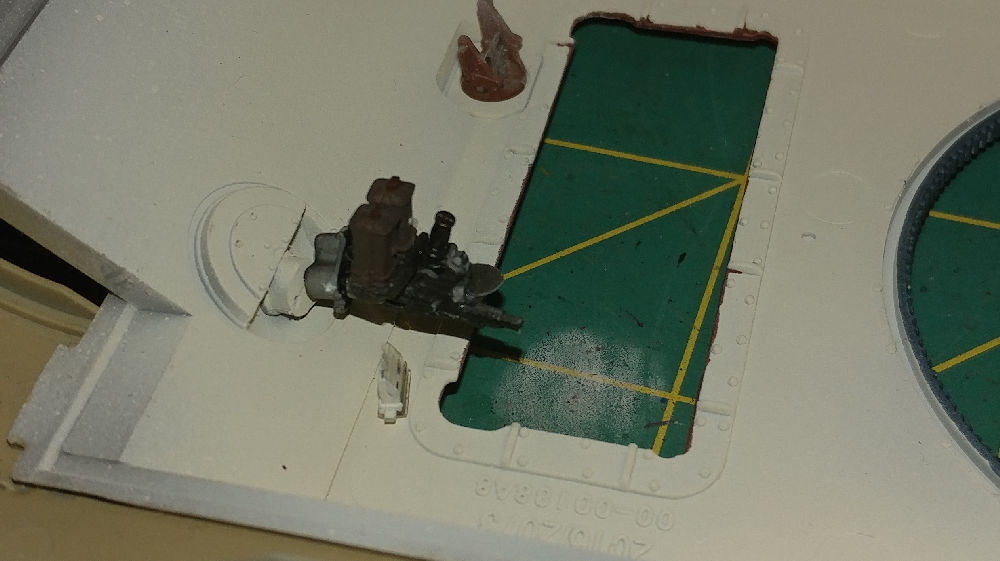
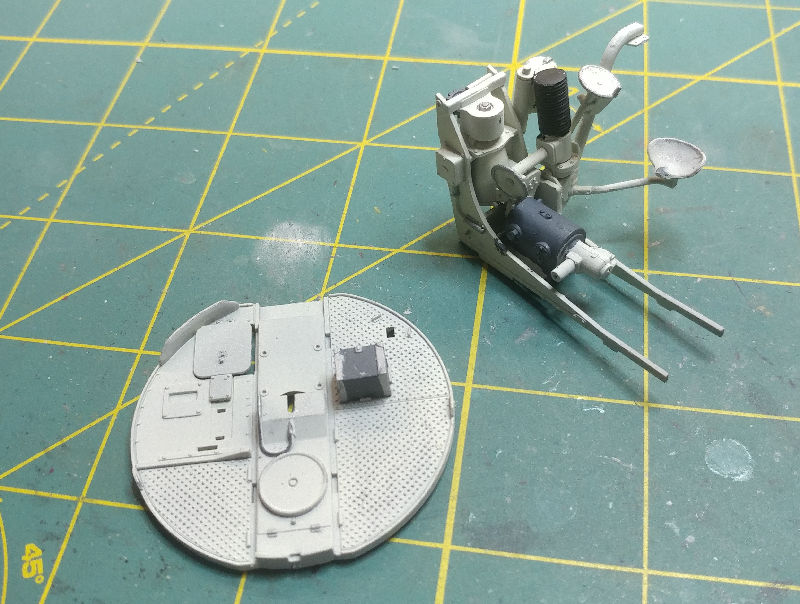
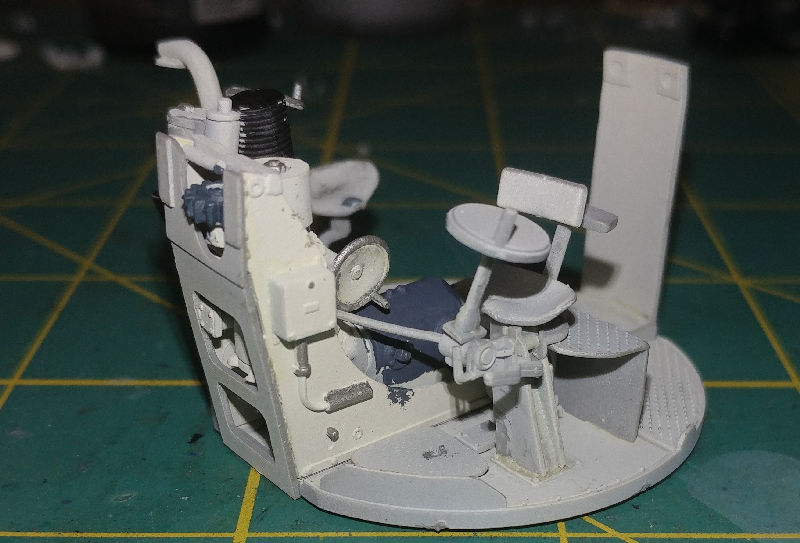
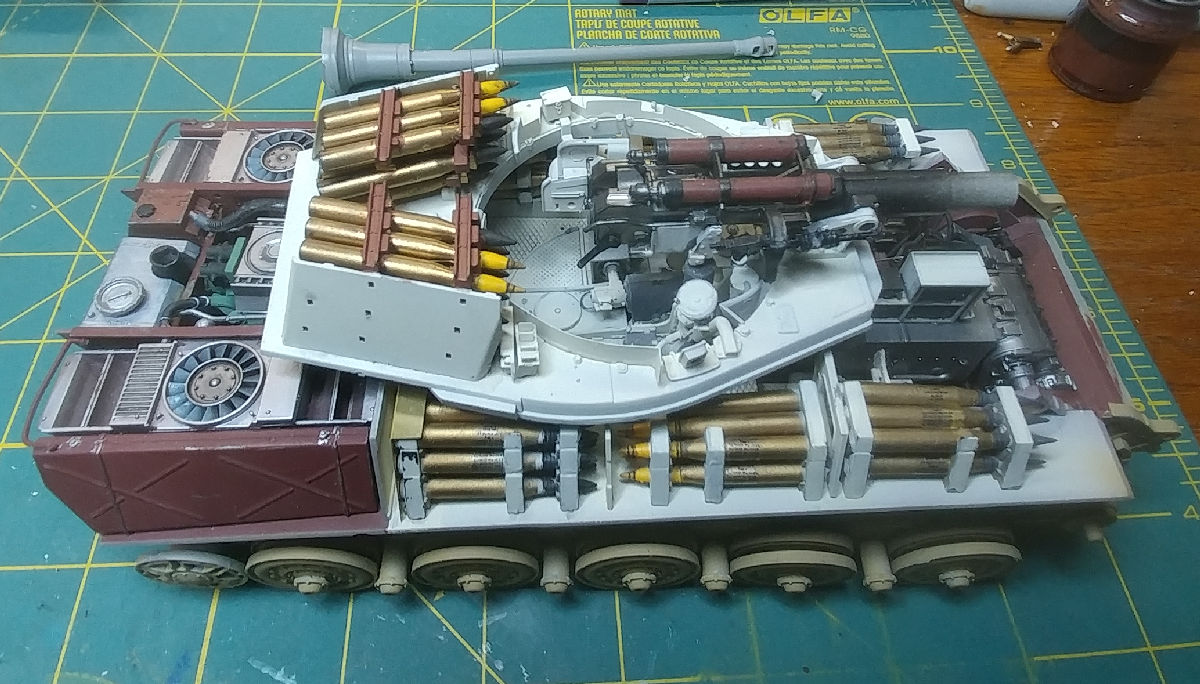
I'm at a complete loss for words as I've been building this kit. If you ever wanted to know what's involved in building the real thing, this is probably as close as you'll get. Again The level of detail is obscene. The engine comes in numerous pieces including the carburetors so it can be built in various stages of disrepair. OK, OK, the butterfly valves aren't there but otherwise.... Everything in the rear compartment is an exceedingly tight fit and I found myself making adjustments even after several dry fits. As I Proceed, I'll be doing even more test fits than usual. Driver/Gunner Compartment
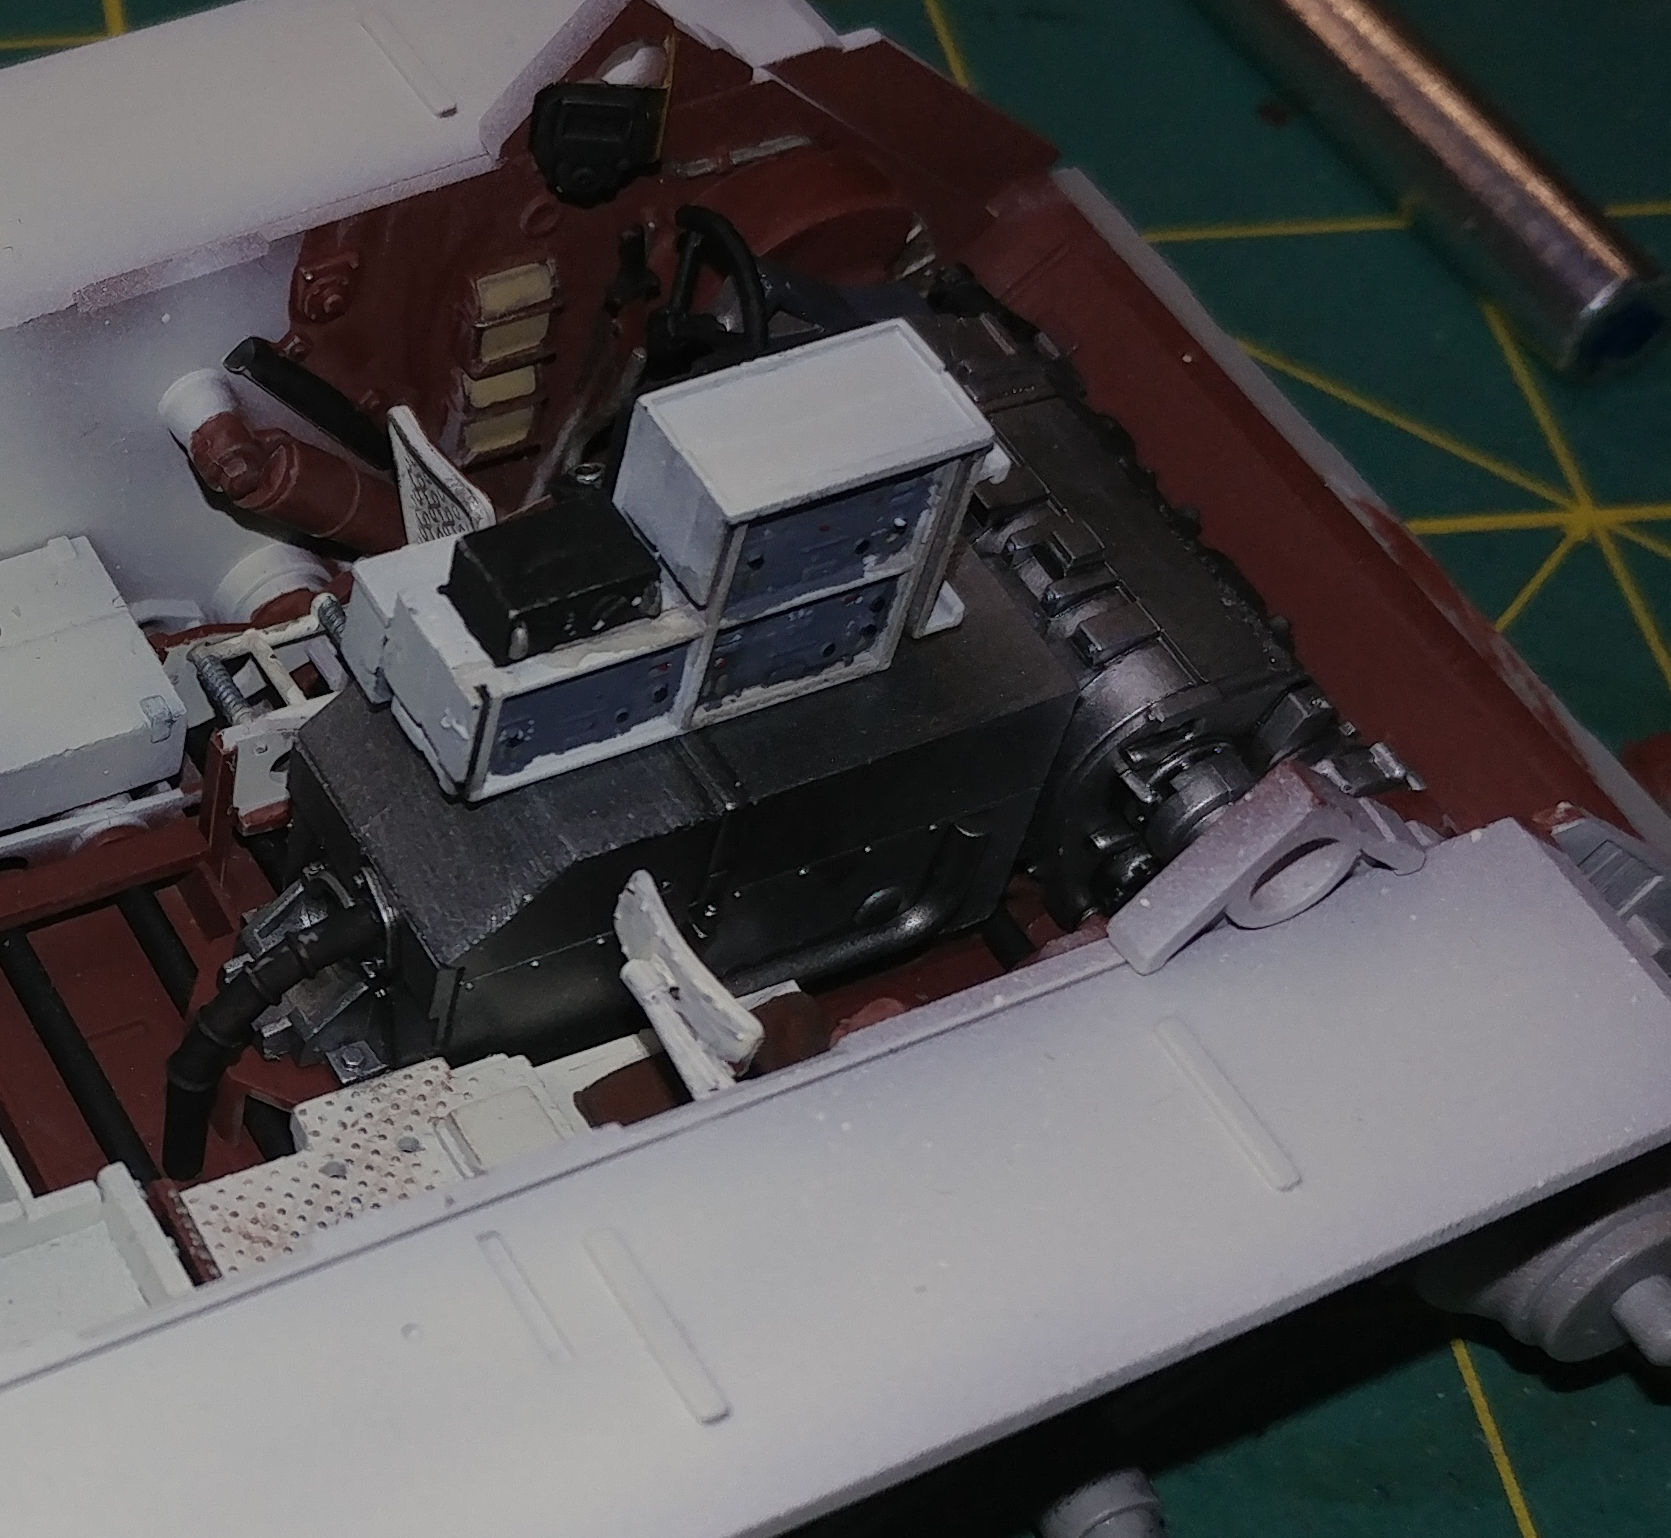

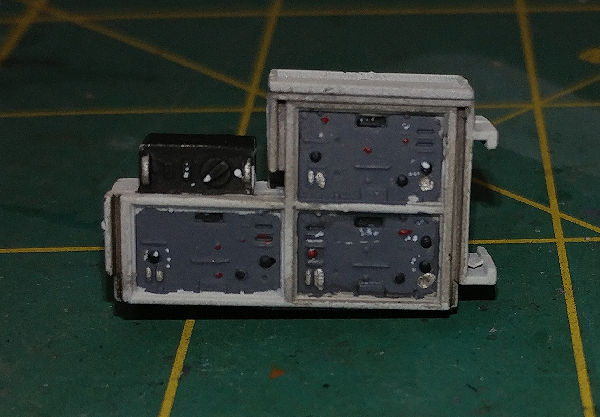
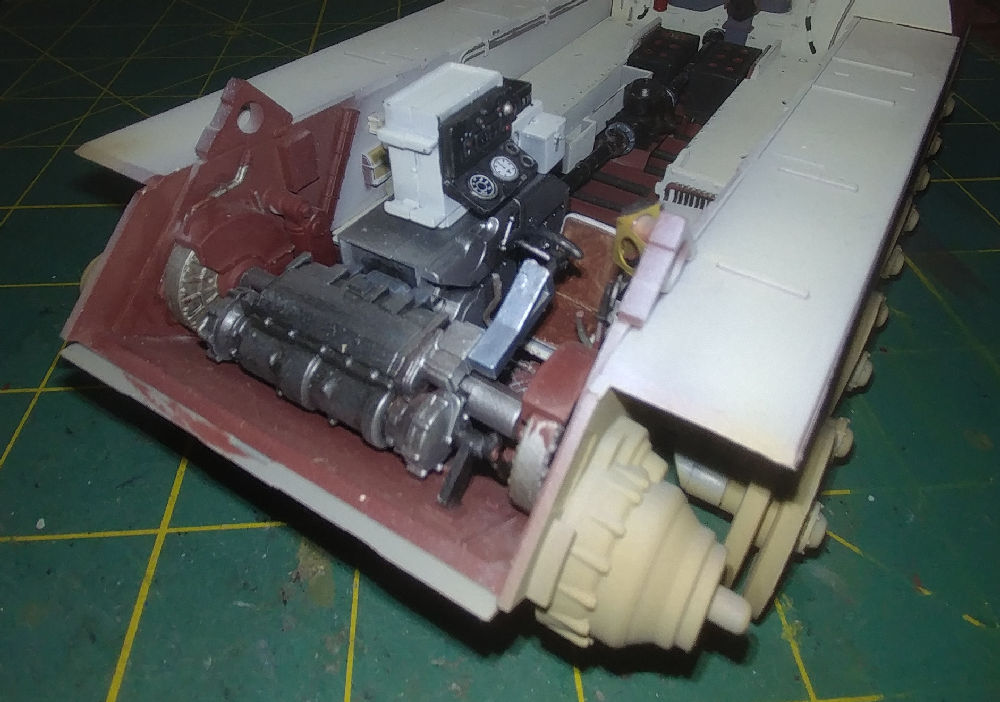
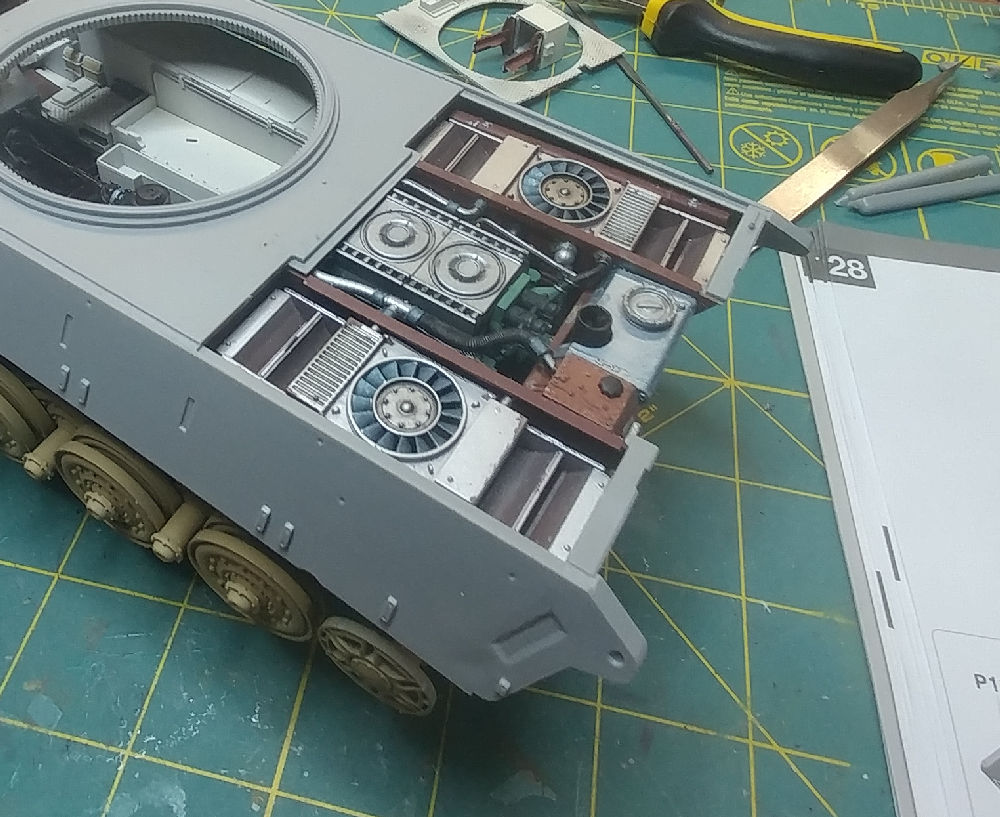
Engine & Engine Compartment

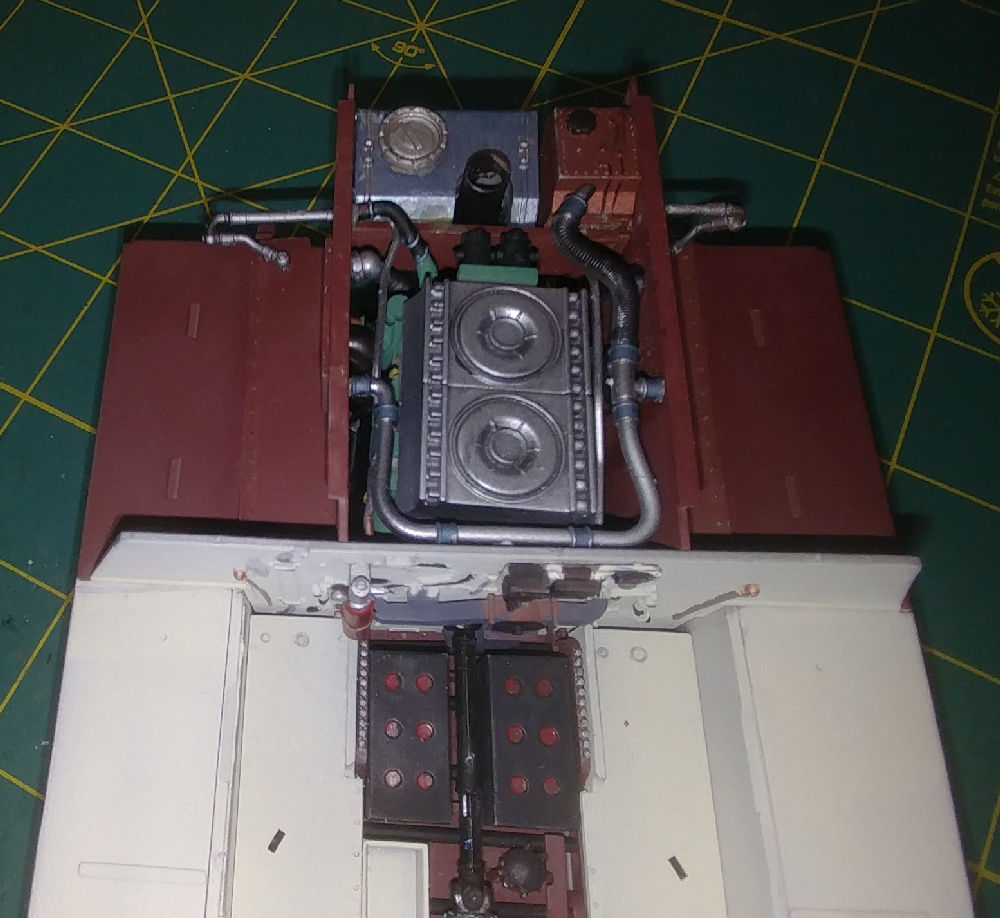


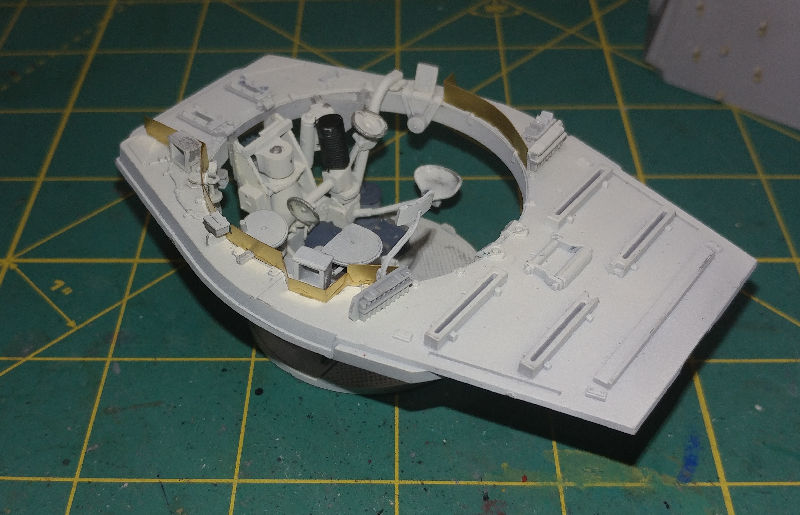
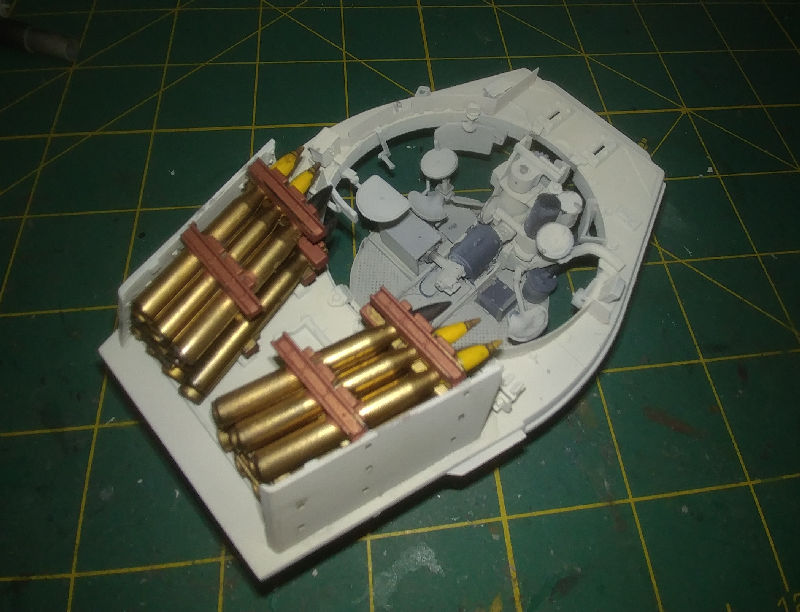
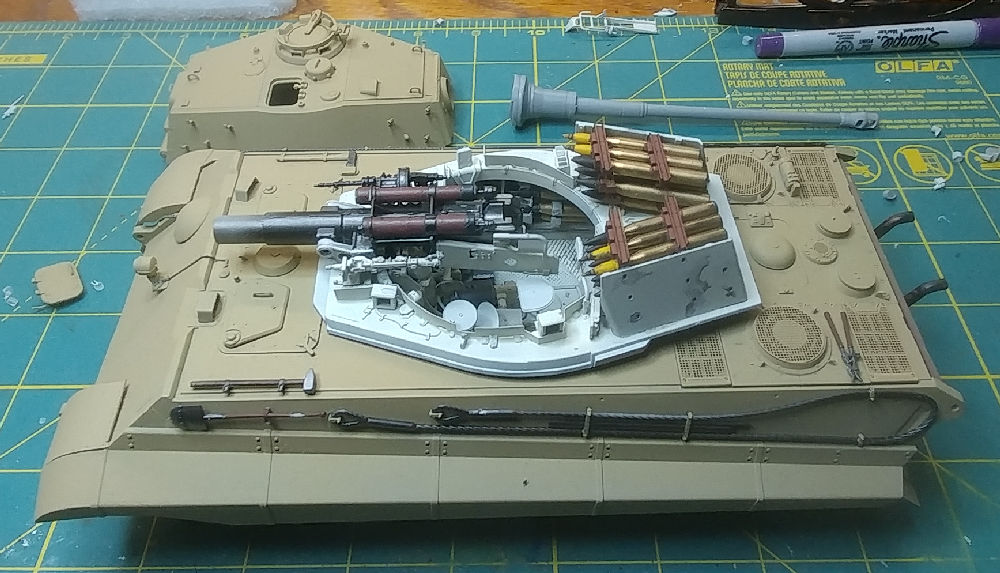
Fighting Compartment

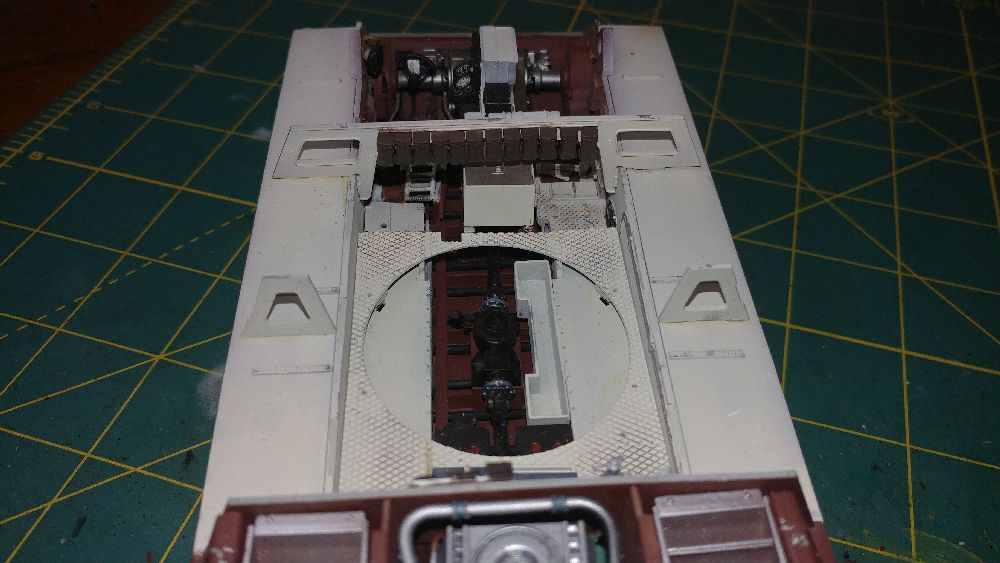
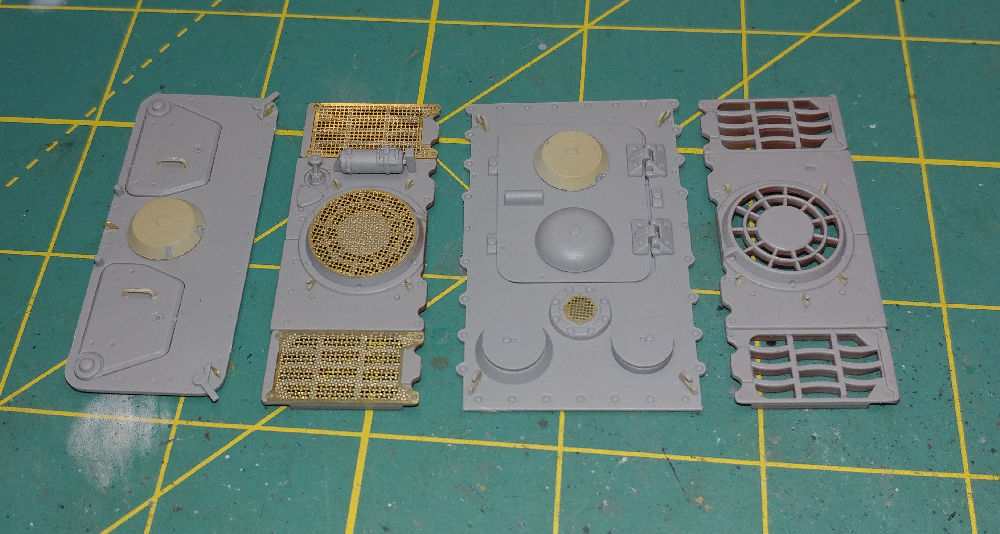
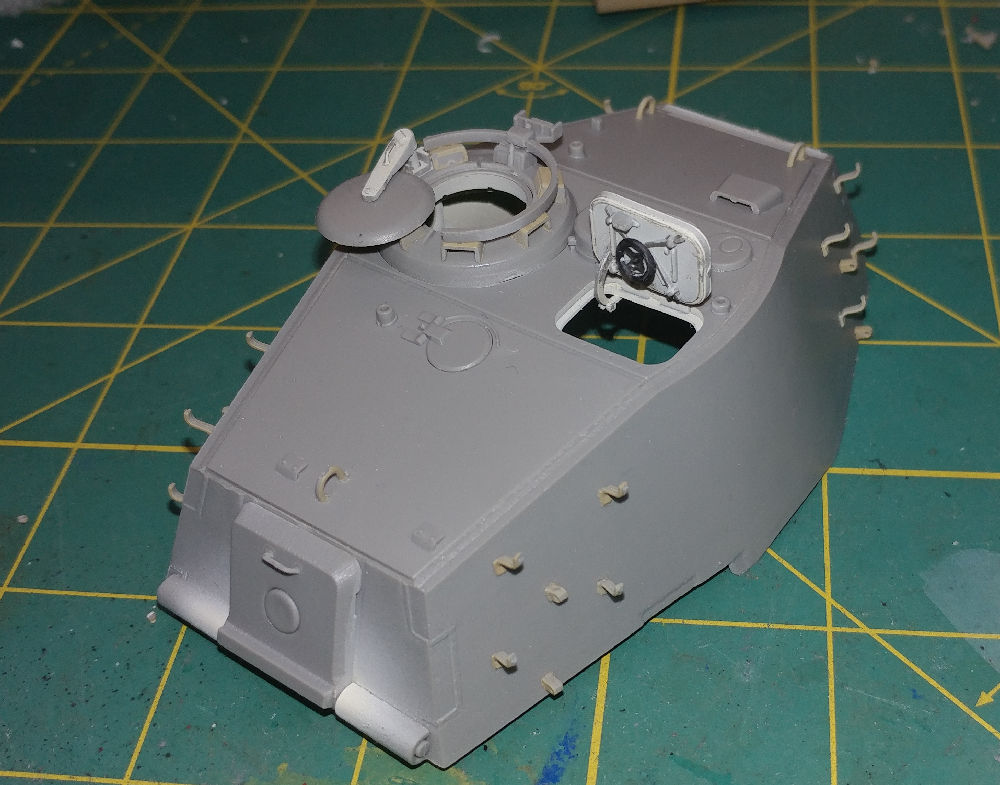
Outer Hull


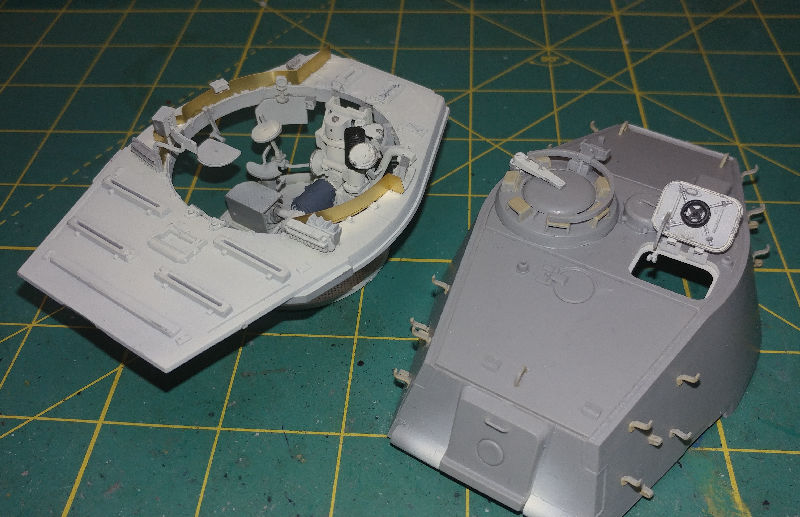
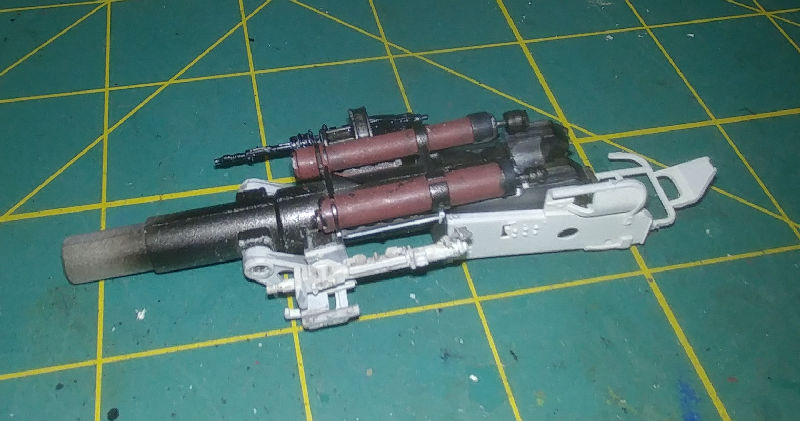
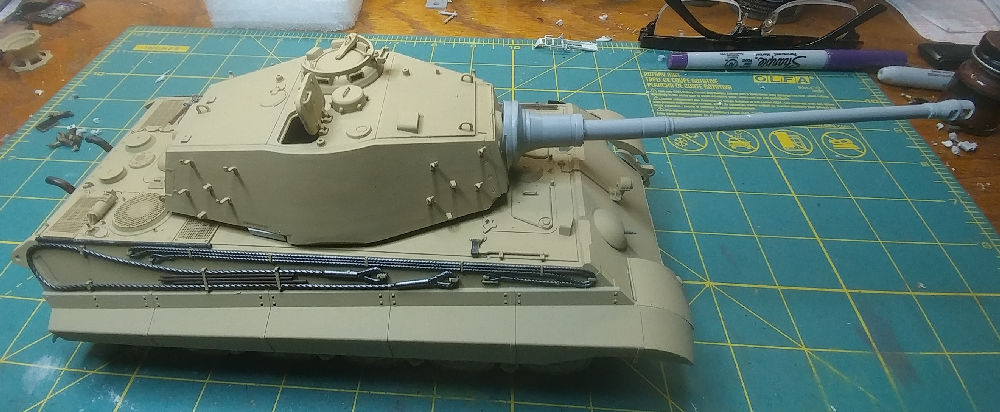
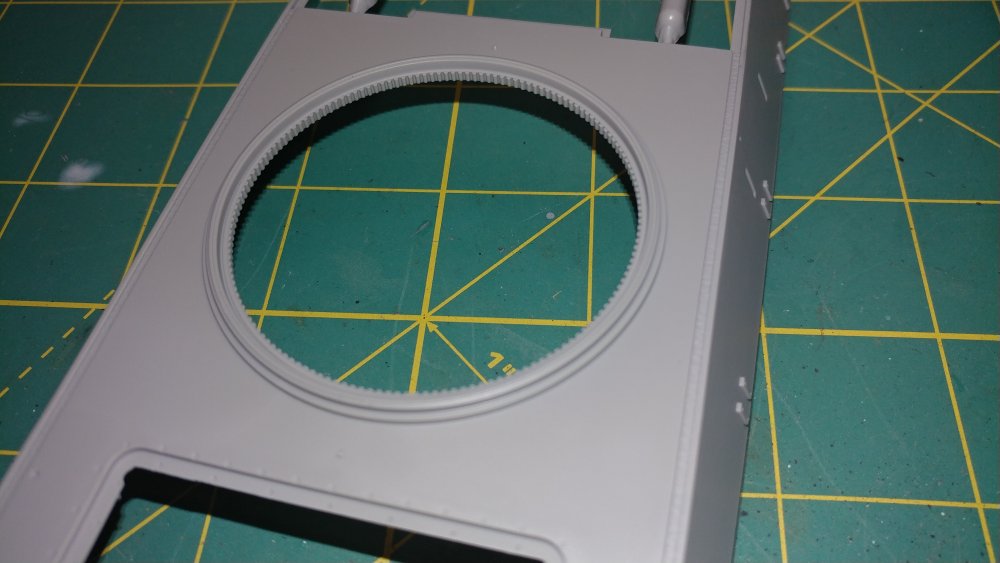
Turret


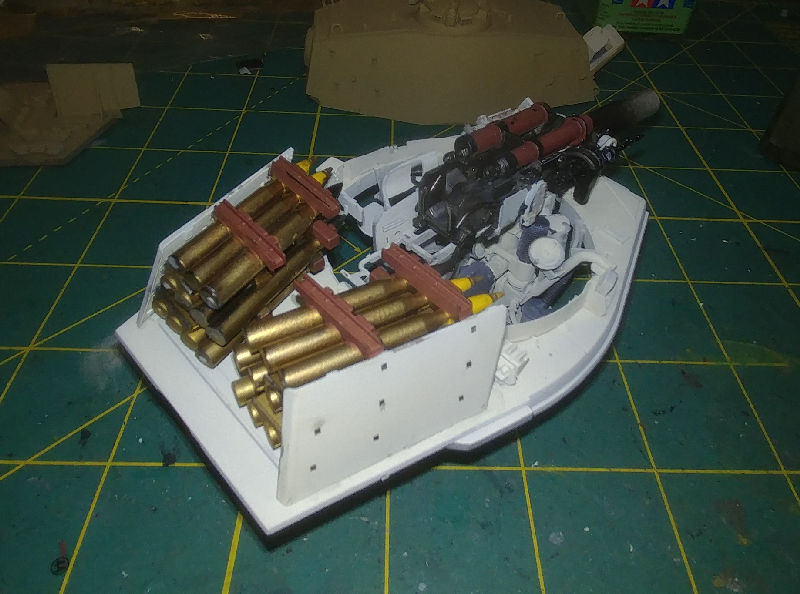
Final Assembly
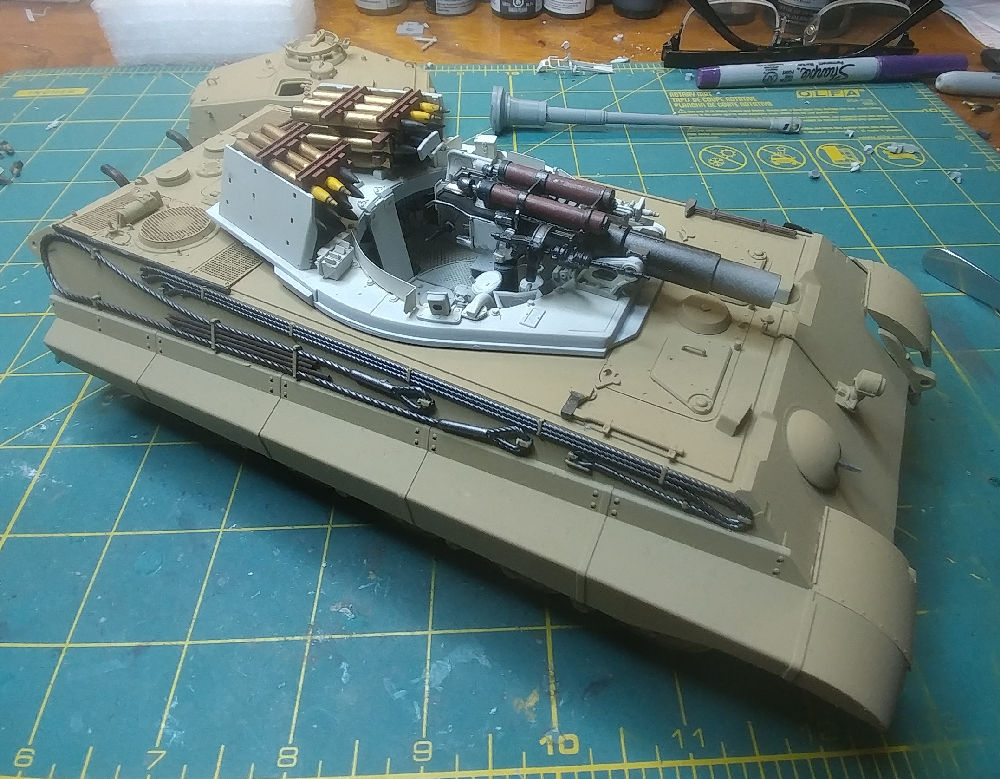

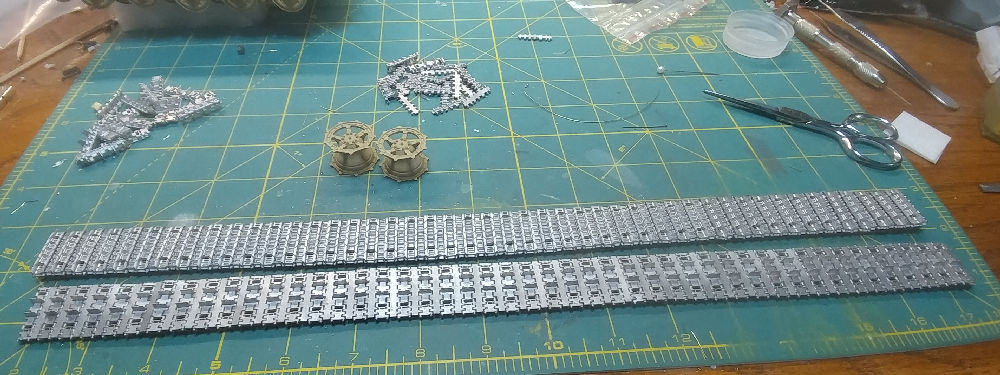
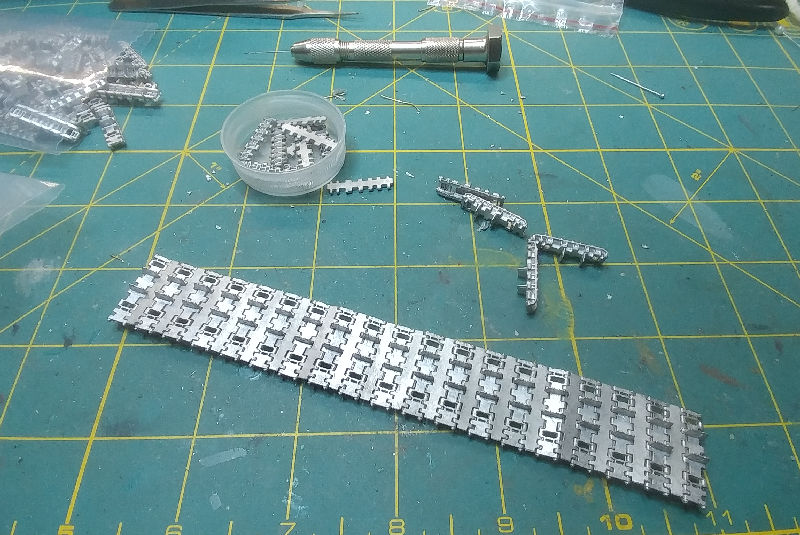
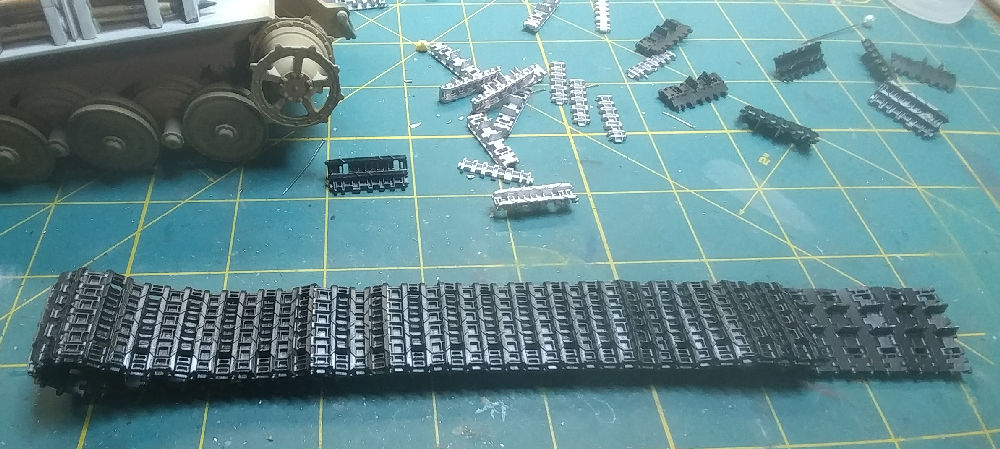
For the tracks I used the Friulmodel ATL16 Track Set. Expensive and time consuming but for me it's worth the expense over the frustration of the so called "magic tracks" plus the weight gives the finished kit some stability sitting on the shelf.
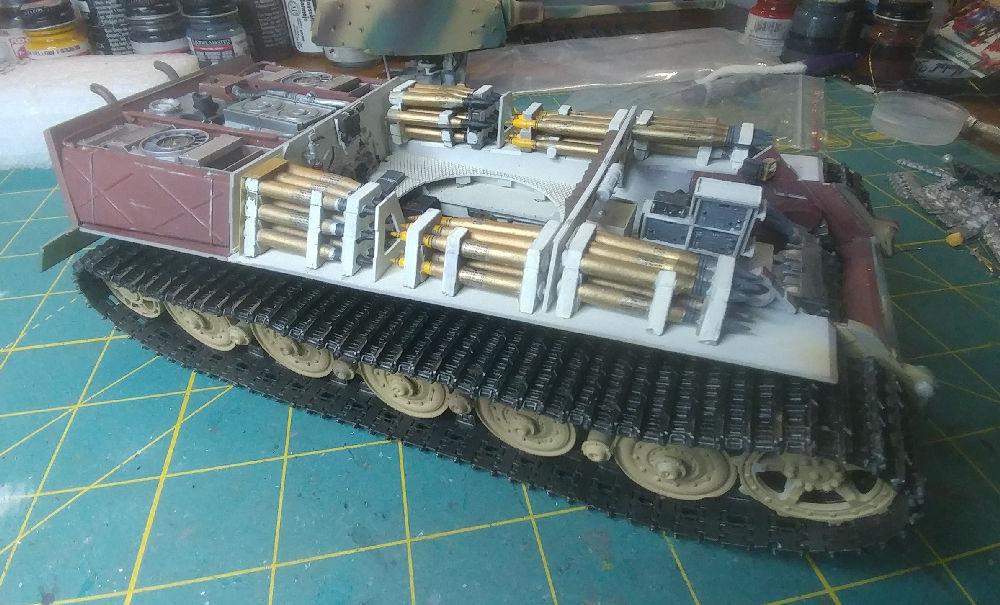
Progress to Date
|

|
This kit has been an interesting project, at times frustrating and other times fascinating. It really gave me insight as to what was involved in building one of these behemouths from the chassis up and down to some of the most minute details.
As I've been building this, I find myself curious as to what some of the parts were and their placement.
I found this restoration site to be great assistance
|
Products used in construction
|