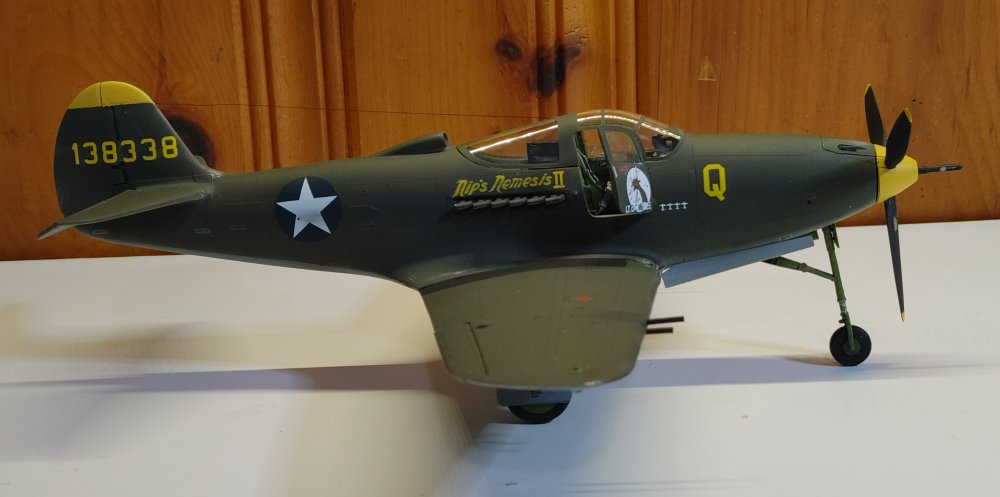
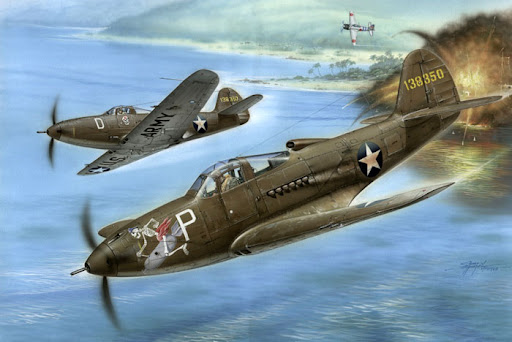
| Bell P-39D Airacobra
Special Hobby, 1/32nd Scale |
|
|
|
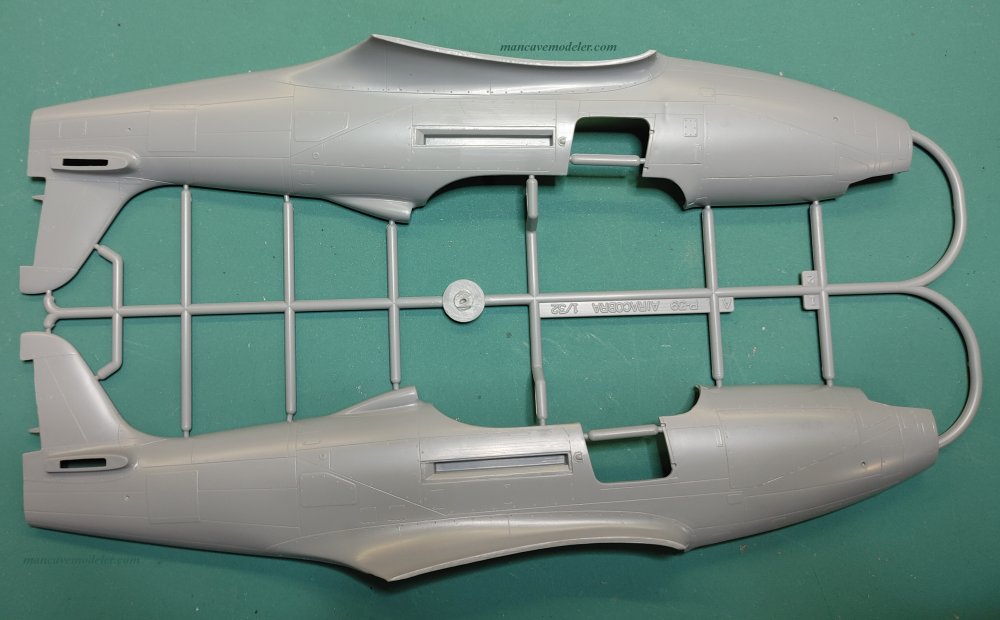
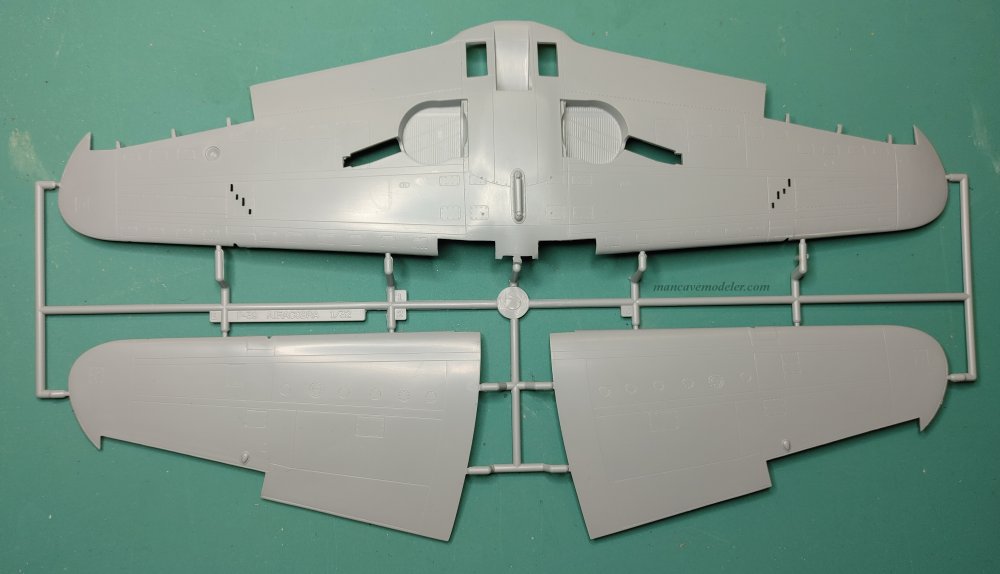
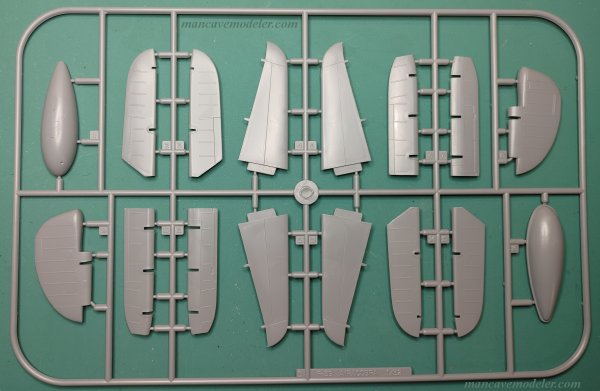
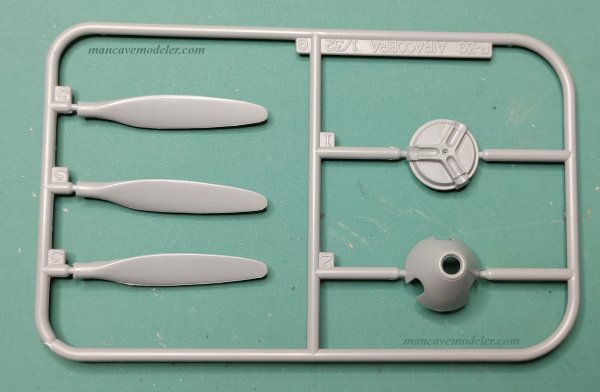
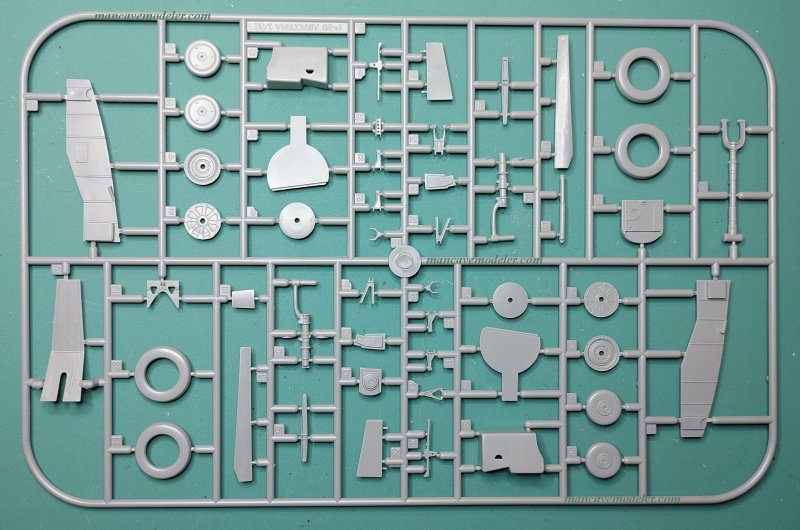
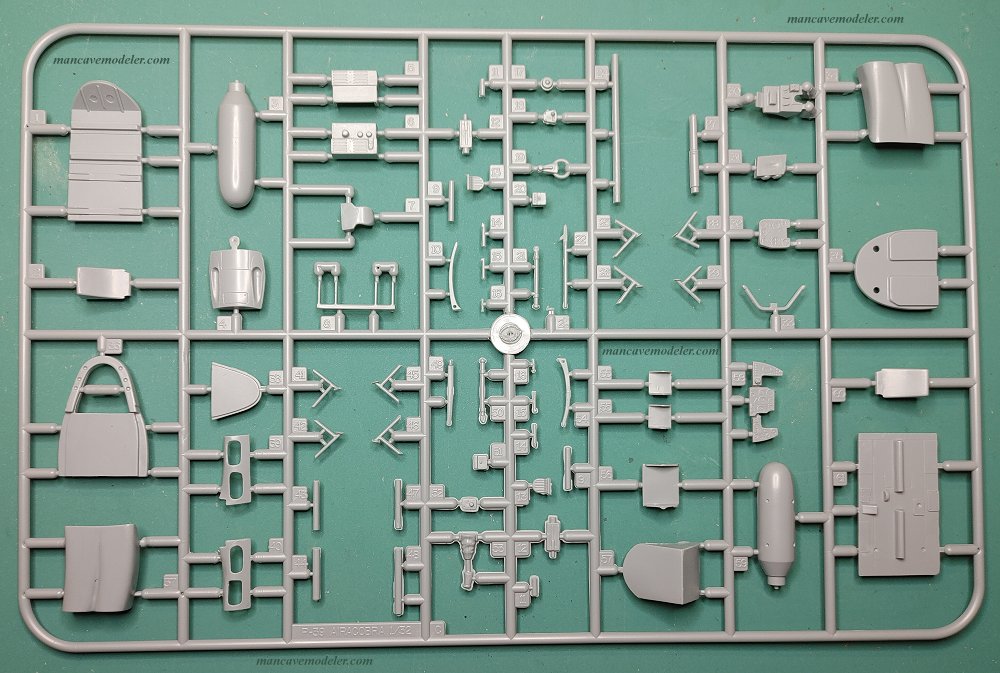
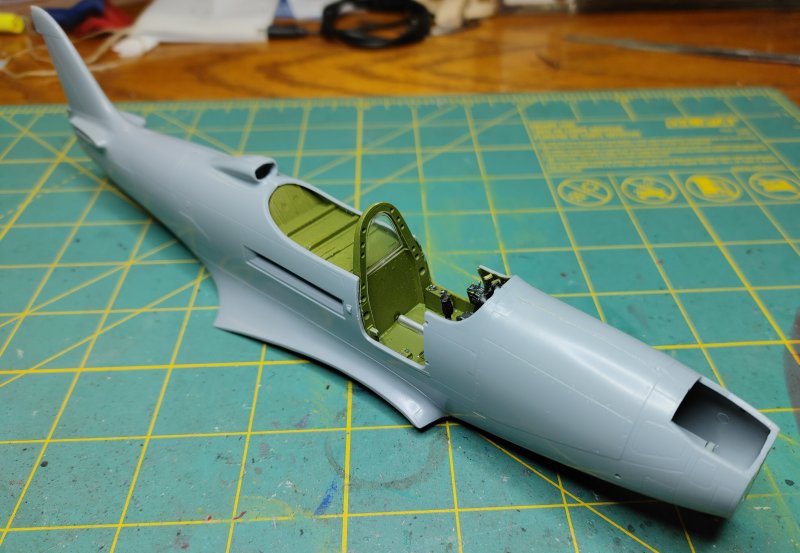
| This is one of the several itterations of the Special Hobby Airacobra, originally released back in 2007(?).
It's not a complicated kit like the Kitty Hawk offering, more on the level of the 1/48th Eduard kits in a larger scale. It has a reasonably well detailed cockpit, but the engine and weapons bay are non-existant..
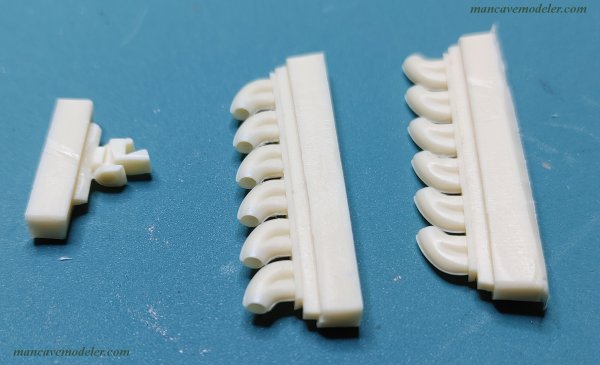
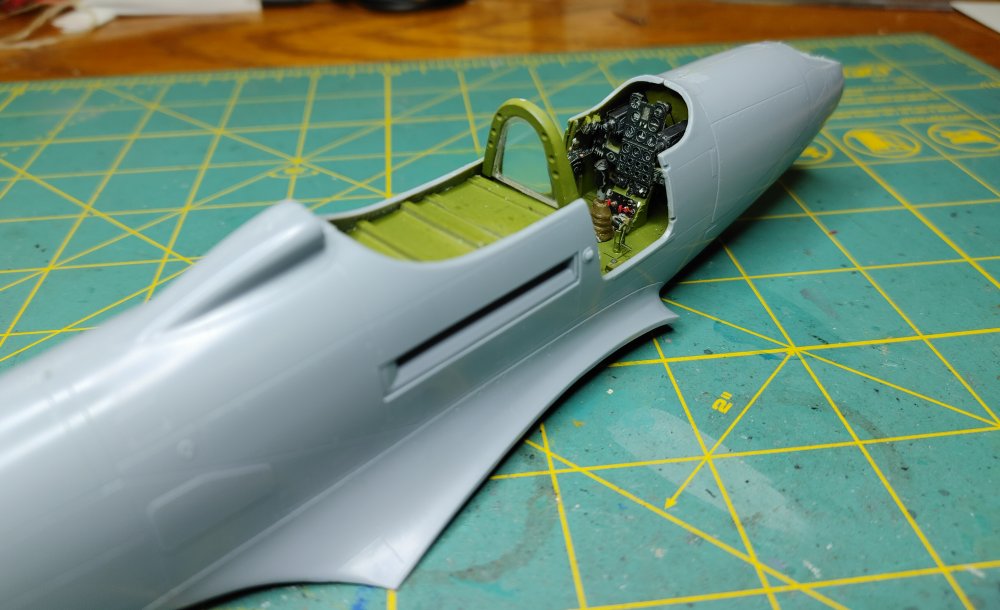
The Eduard Cockpit set was a great addition to this kit |
|
|
|
| Construction
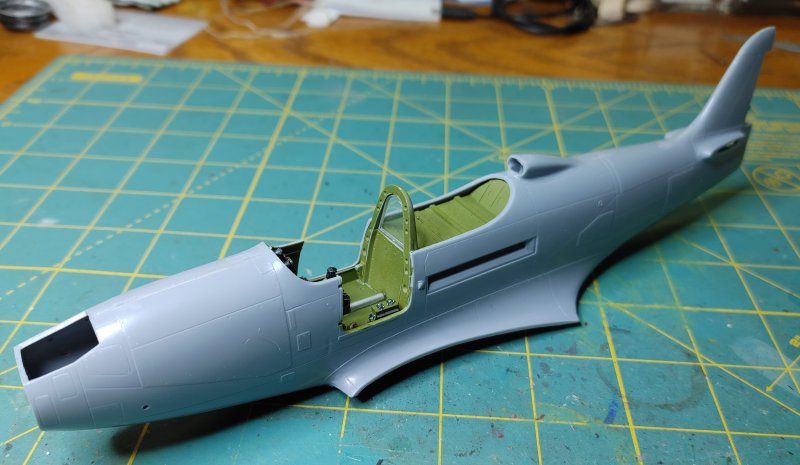
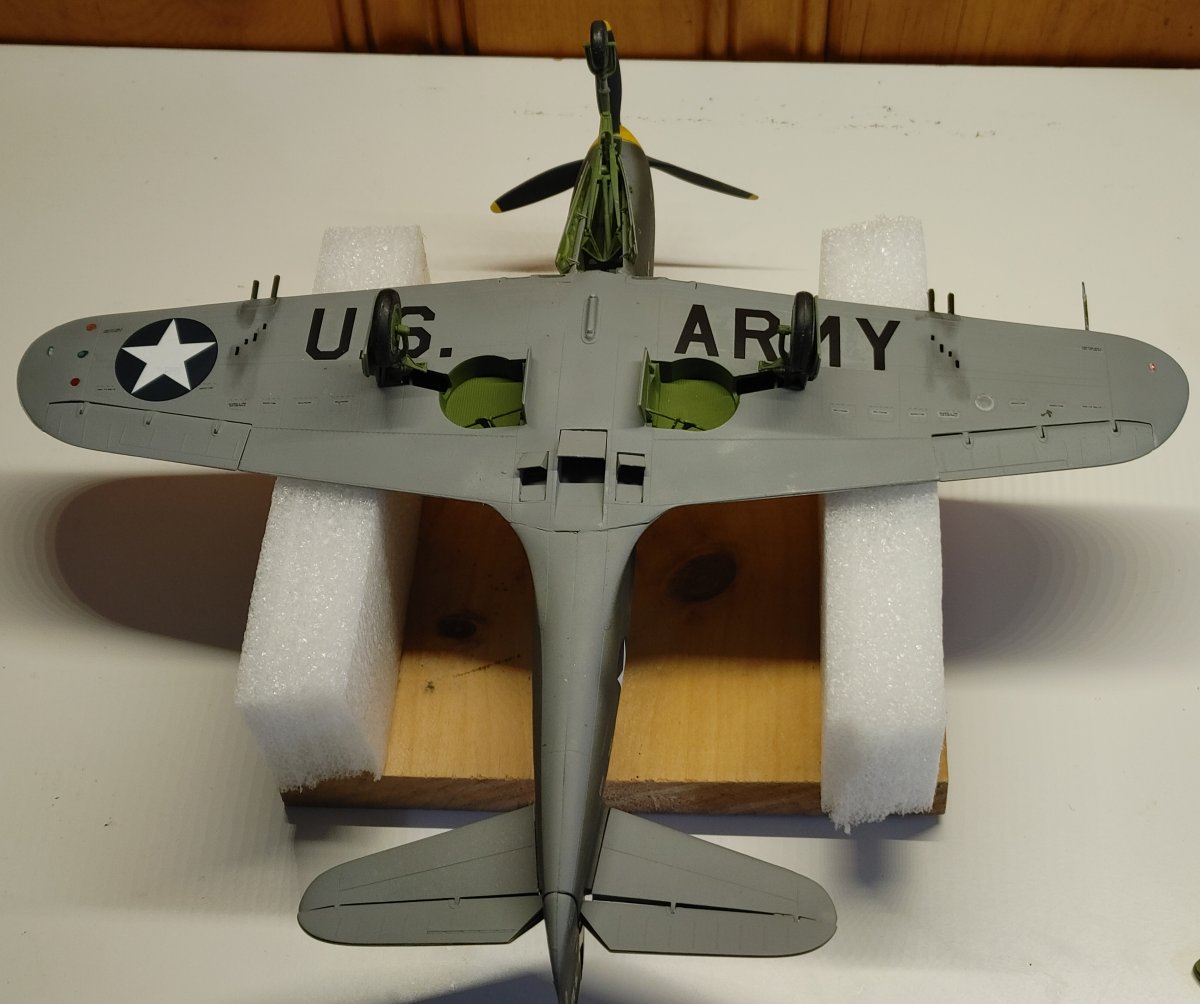
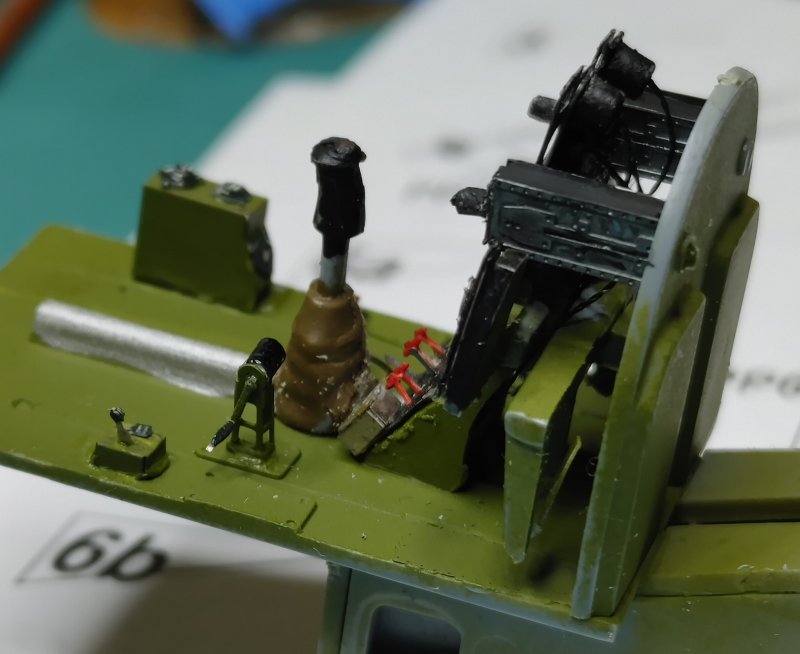
This kit begins with the forward wheel well. As someone else said in regards to this kit. measure 3-4 times, glue once. There is a bracket inside that is misplaced on the instruction that needs to be placed a litte further back in the wheel well 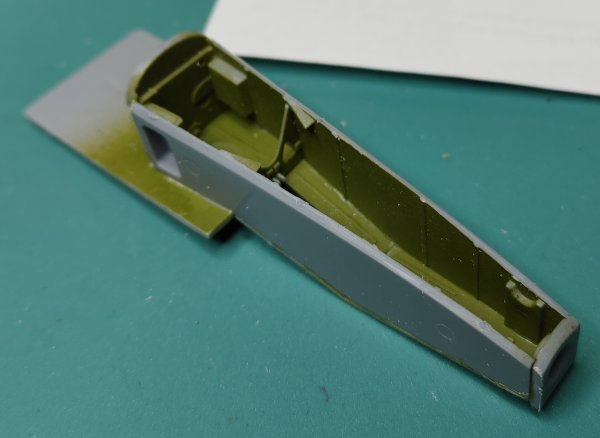 Cockpit.
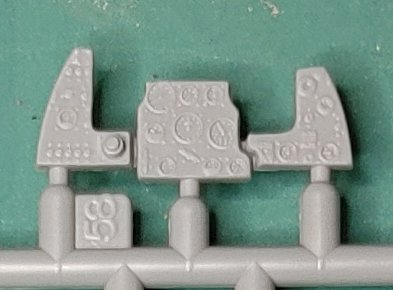 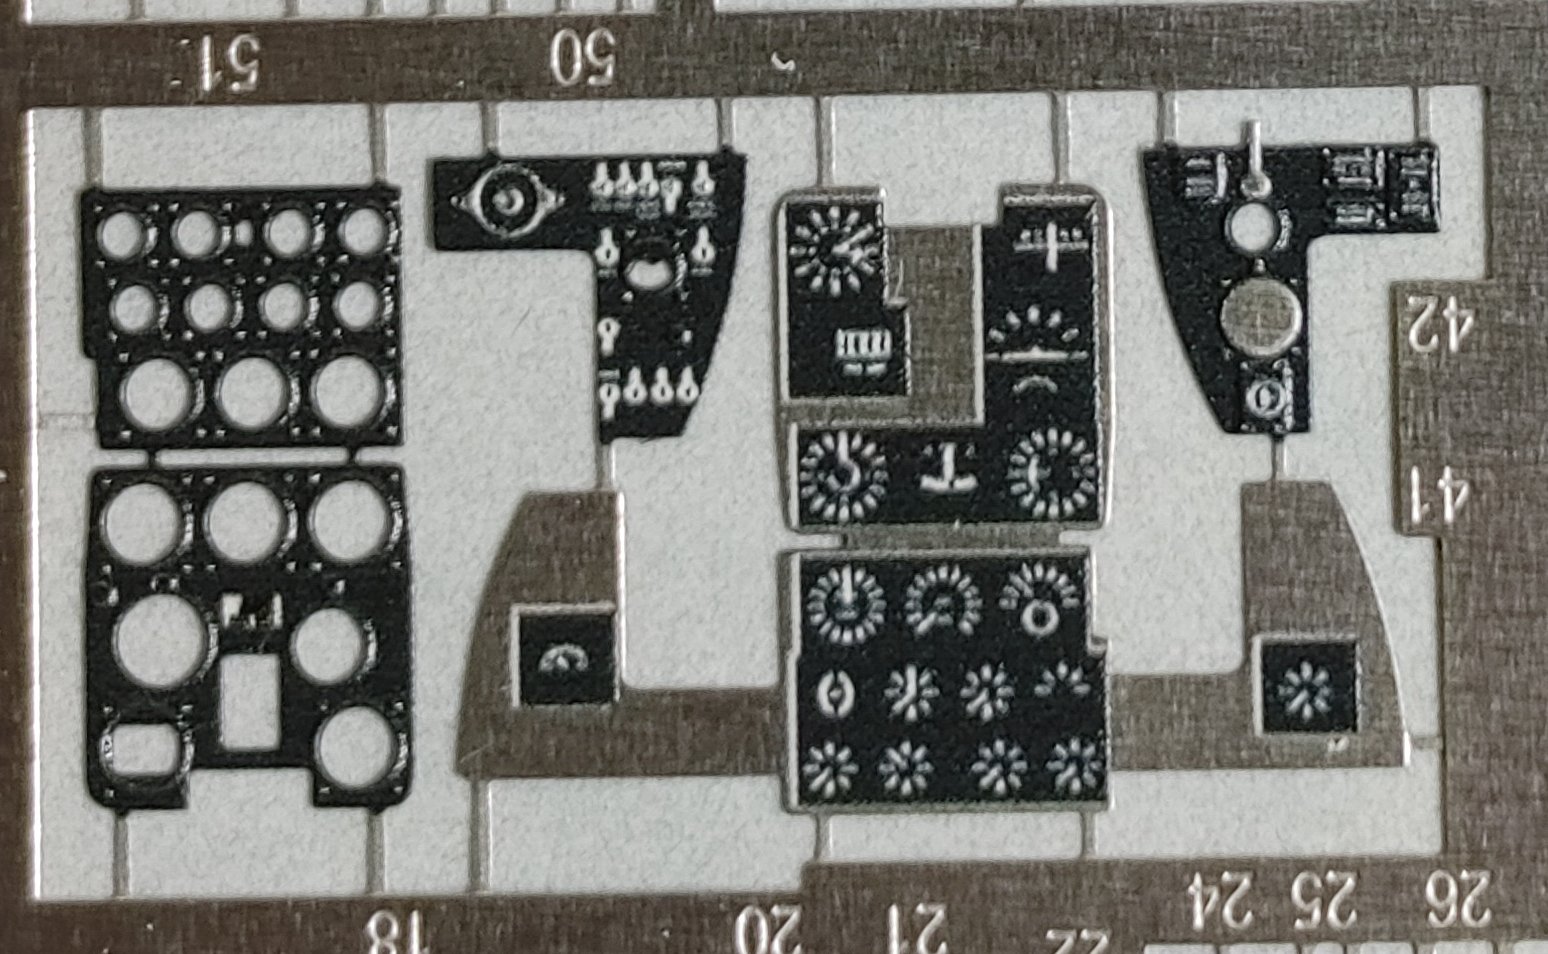 The instument cluster requres you to file off the existing detail to attach the replacement. The upper panel from the kit was not used, but I did cut off the instrument housings off the back, drilled them out, installed the wiring to them and used them on the PE part. The wires were then tucked in and glued under the lower panel.
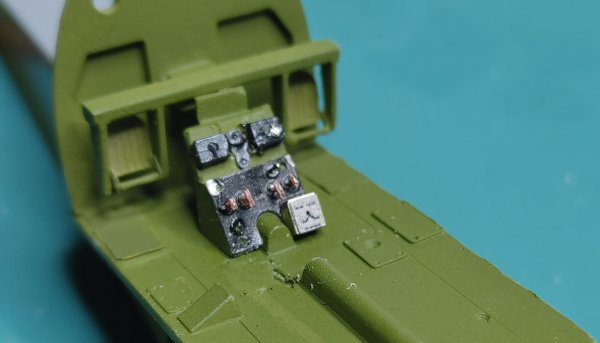
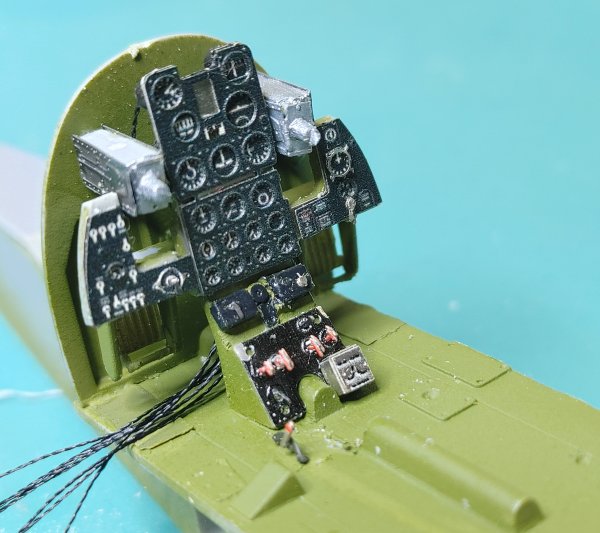
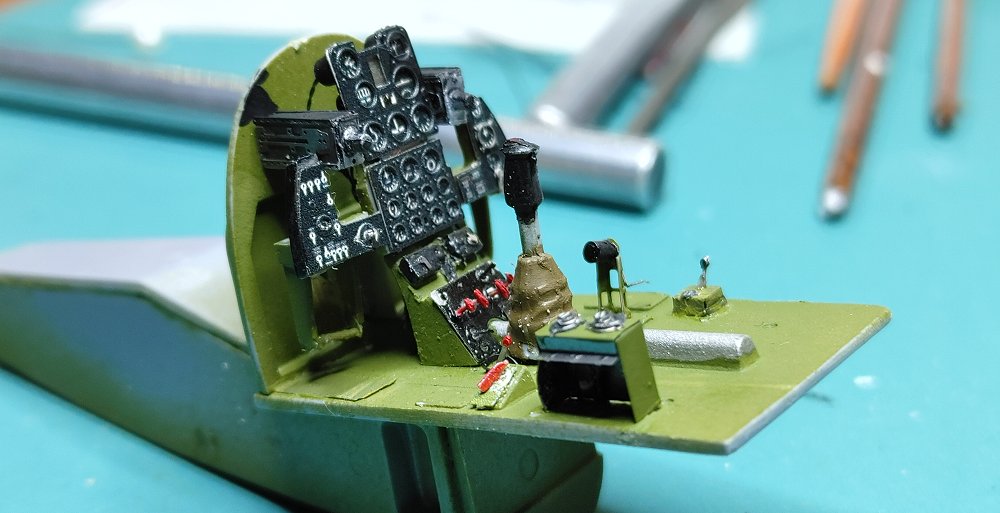
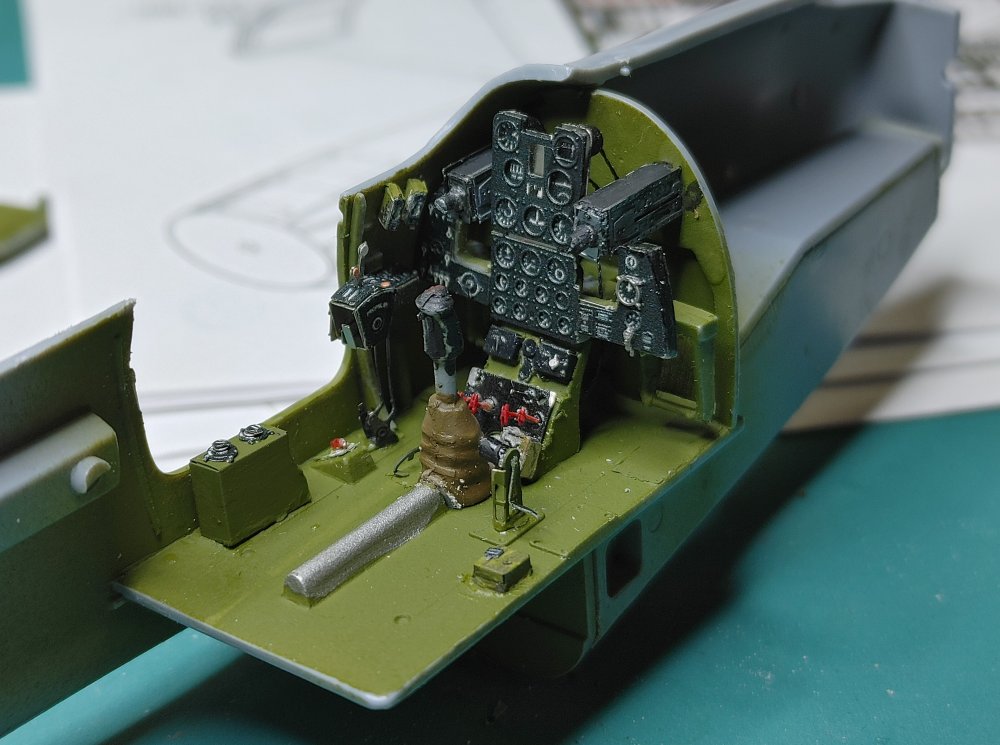
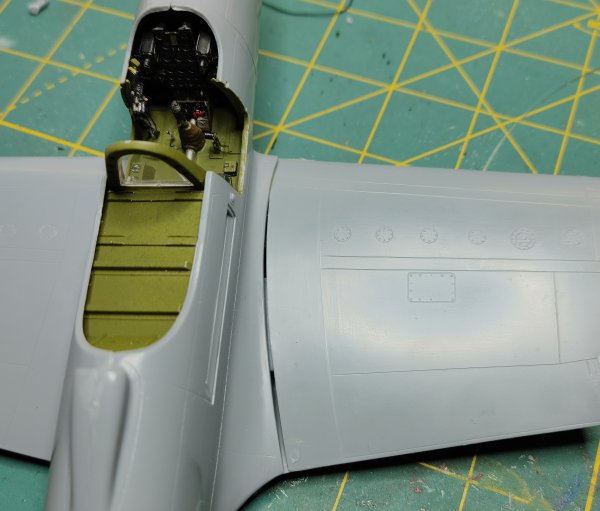
At this point if you choose to install the PE throttle controls, you will need to glue the cockpit assembly into the left side of the fusilage. Some of the linkages attach to the fitting on the cokpit floor. Once all these subassemblies are installed, I glue the fusilage halves together and add a couple small handles to the cockpit floor.
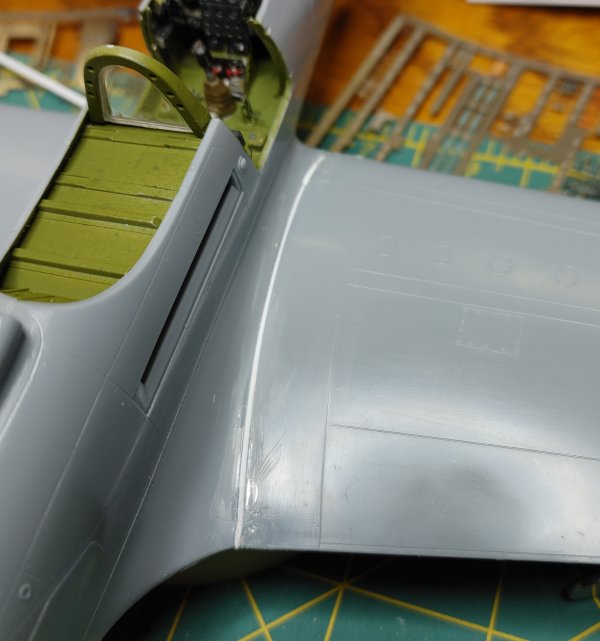
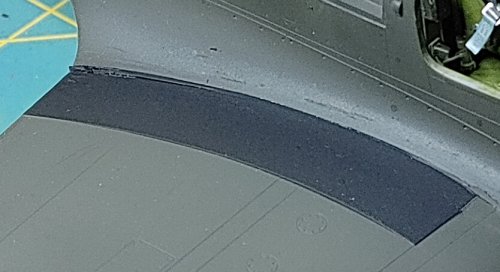
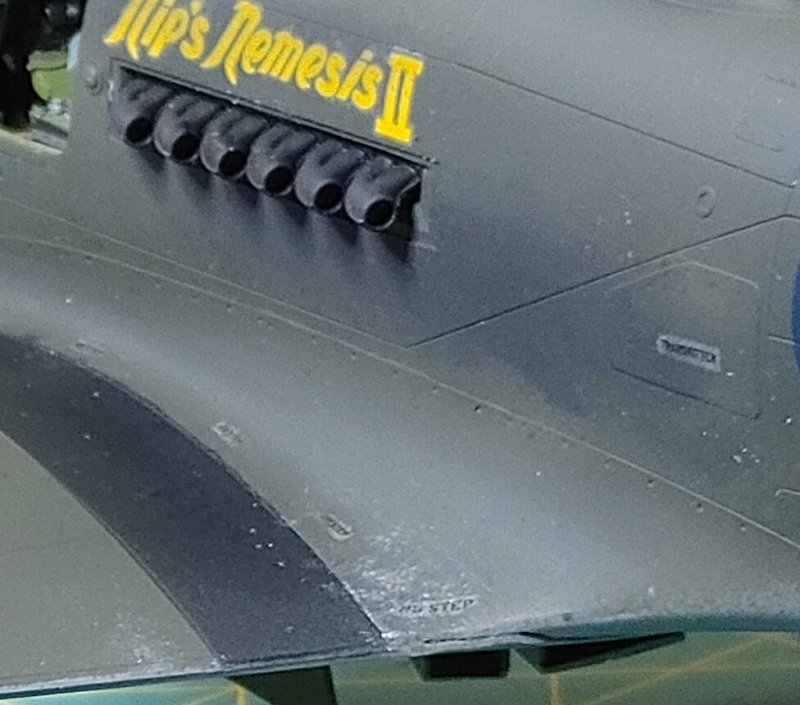
Attaching the wings to the fusilage became the biggest fit issue with this kit. There was a huge gap that needed to be filled. I was able to fill it with a piece of strip styrene and only a small amount of trimming and sanding. The black nonskid walkway hid the seam reasonably well.
The waterslide decals came off the paper quickly and settled into the panel lines easily with a little bit of solvaset
|
|
|
|
|
|
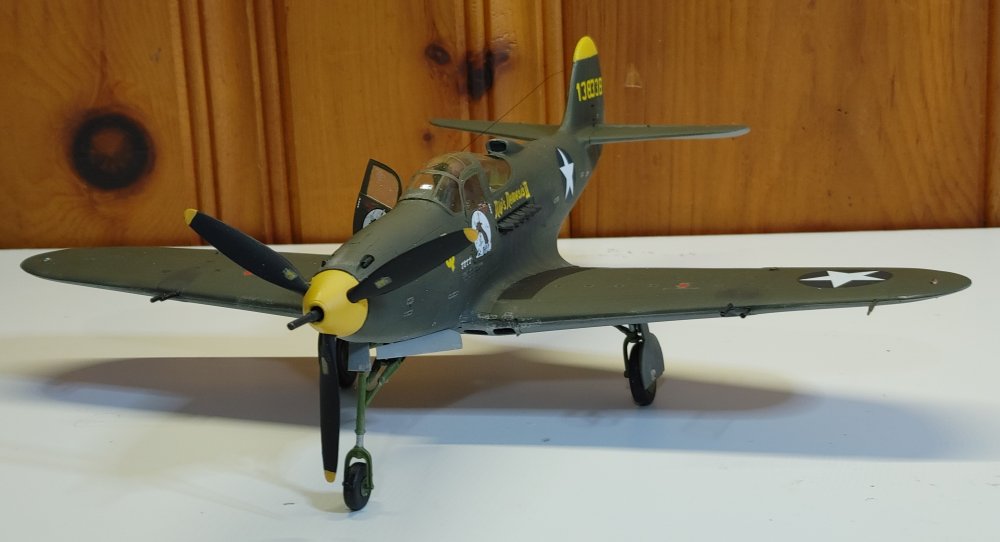
This is my second Special Hobby Kit and found some of the same issues...
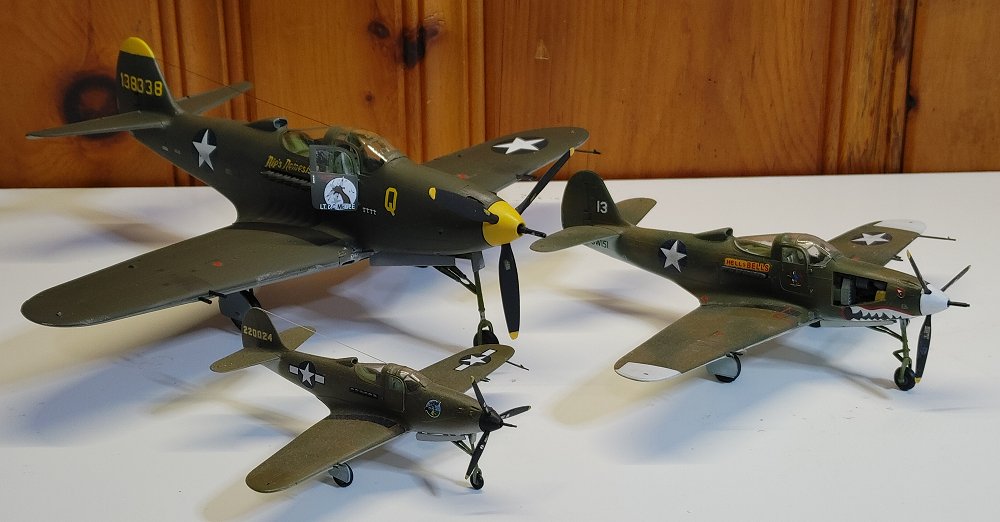
My first impression was to give this kit a thumbs down, but as I looked at the end results, I was pretty happy with it after all. I believe Revell had their version listed as a skill level 3 the fit wasn't what I'd expect, and the only cement that seemed to work is the Tamiya ulta thin. there was also a large amount of flash on one of the sprues, but it was confined to a small area as if the molds didn't seal propery in that spot. Except for aggravating fit issues mostly around the wing roots, a rather pleasant kit that looks big on the shelf surrounded by the smaller 48th and 72nd versions. The Eduard cockpit set was a huge improvement over the kit parts and substantailly more noticable considering the size of the kit. After my initial concern were overcome, I actually love the kit and will build this kit again, this time a little more involved.
My 2 Cents Worth |
|
1/72, 1/48 and 1/32 scales | |