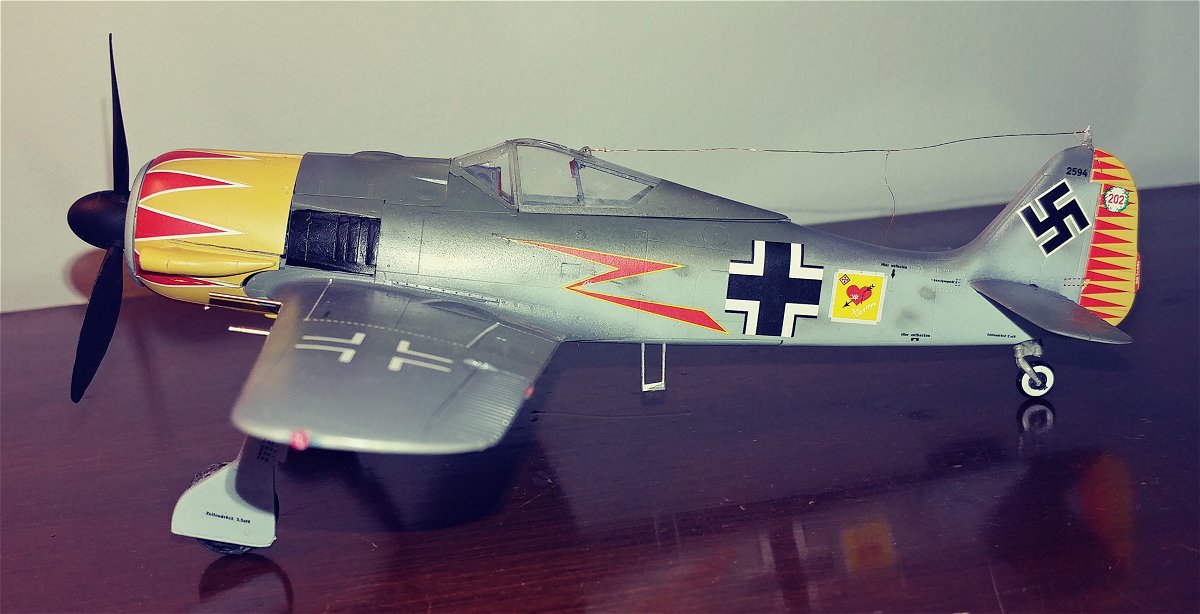
| Focke Wulf FW-190A-5/U7 Graf Special
Hasagawa models, 1/48 scale |
||
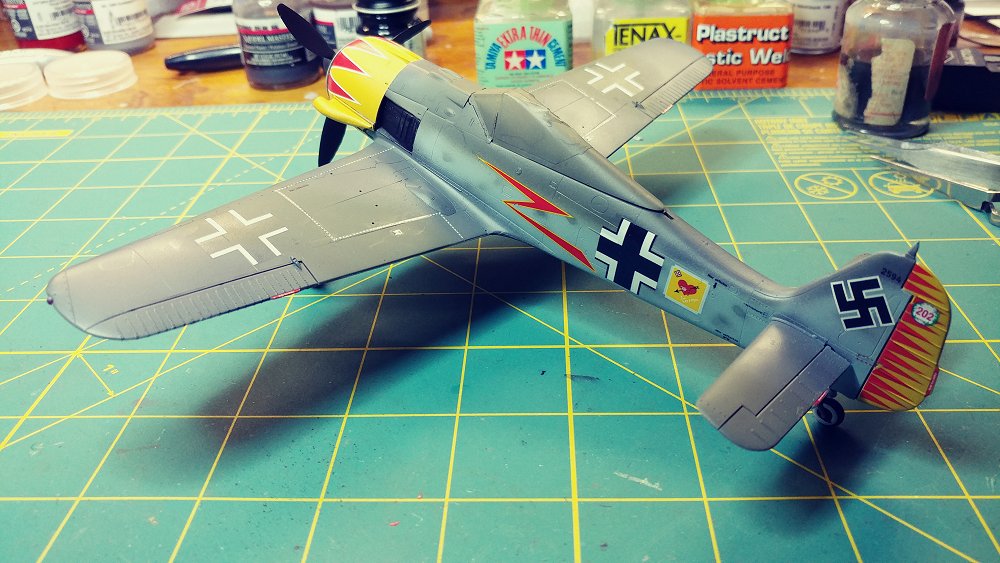
Major Hermann Graf, Jagdgeschwader 50, 1943 |
||
| The Plane
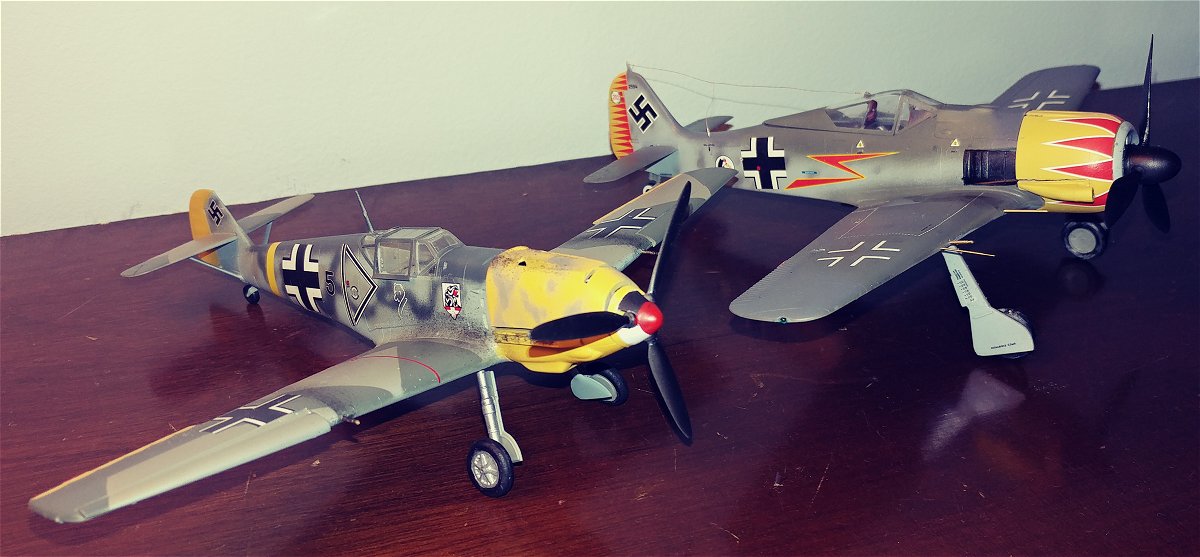
The FW190 was designed by Kurt Tank in the late 1930s and widely used during World War II. This aircraft, along the The Messerschmitt Bf109 formed the backbone of the Luftwaffe fighter forces during the Second World War. The first operational FW-190's appeared over France in August 1941 and proved to be superior to to the Spitfire mk. V at low and medium altitude. The A-5 was developed after it was determined that the Fw 190 could easily carry more ordnance.
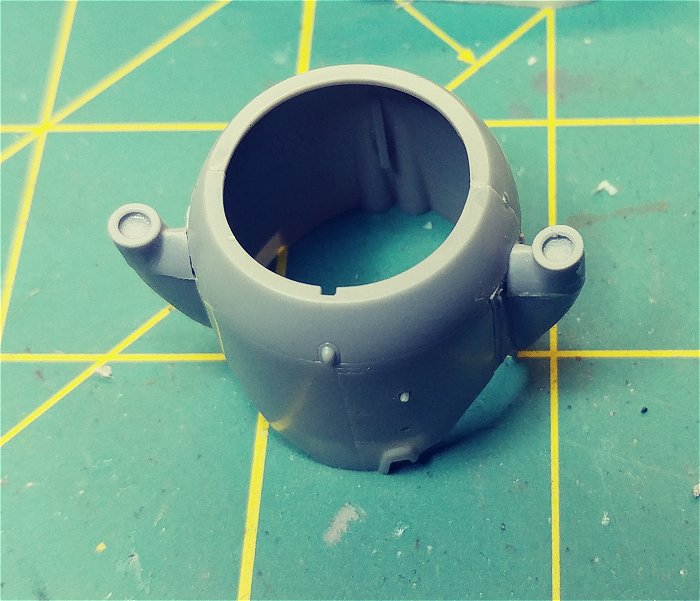
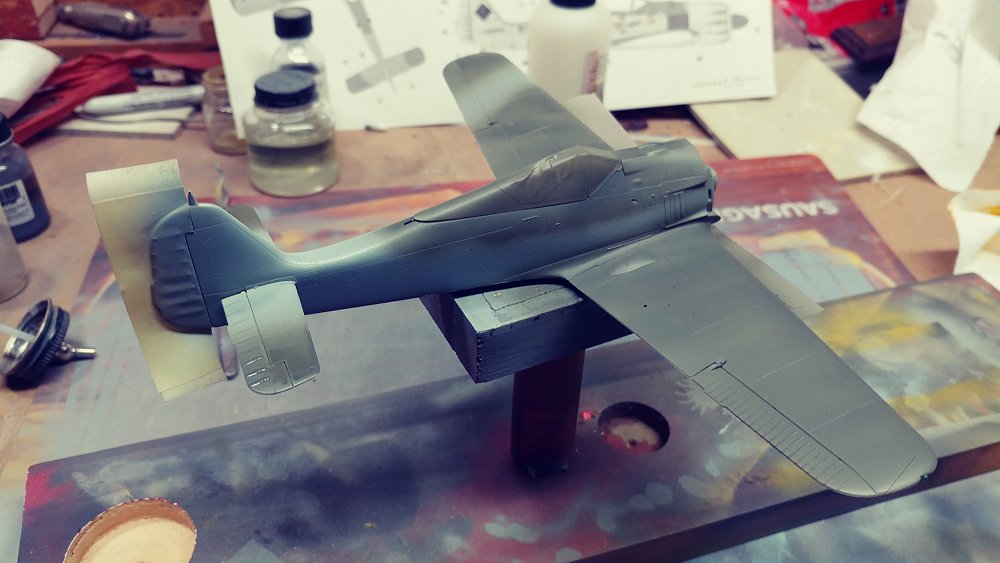
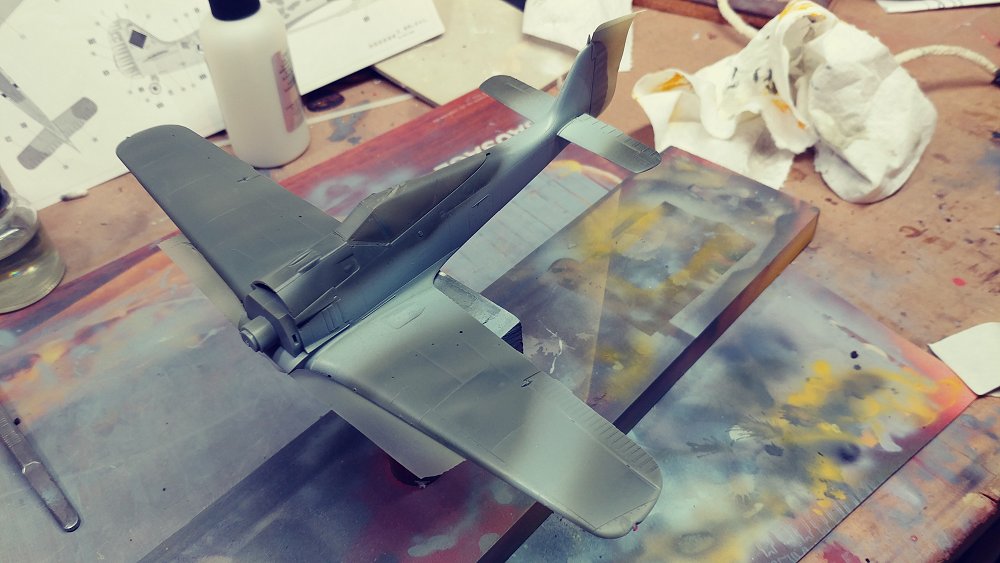
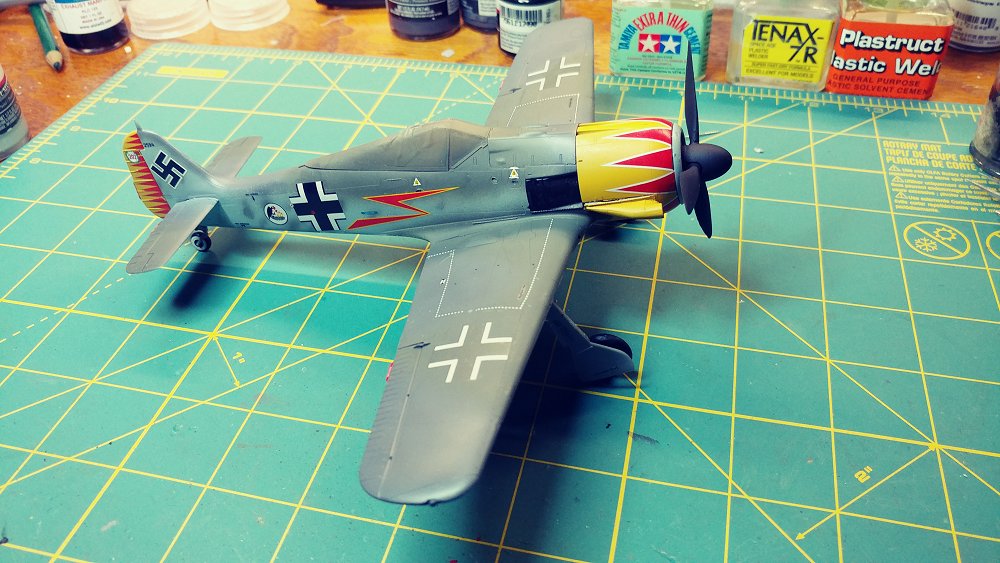
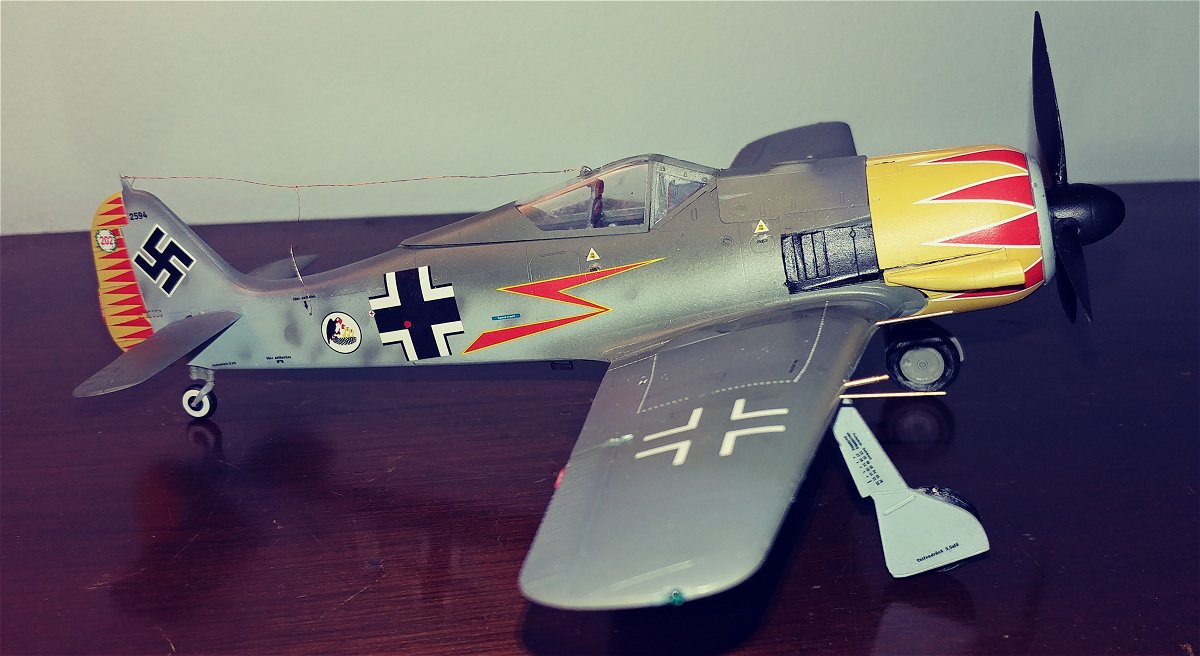
Deliveries of the Fw 190 A-5 began in January 1943. The/U7 was a high-altitude version, easily identified by the compressor air intakes on either side of the cowling |
|
|
| The Kit
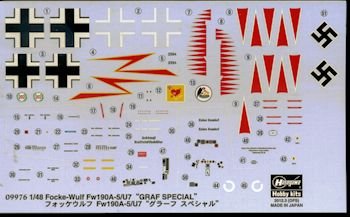
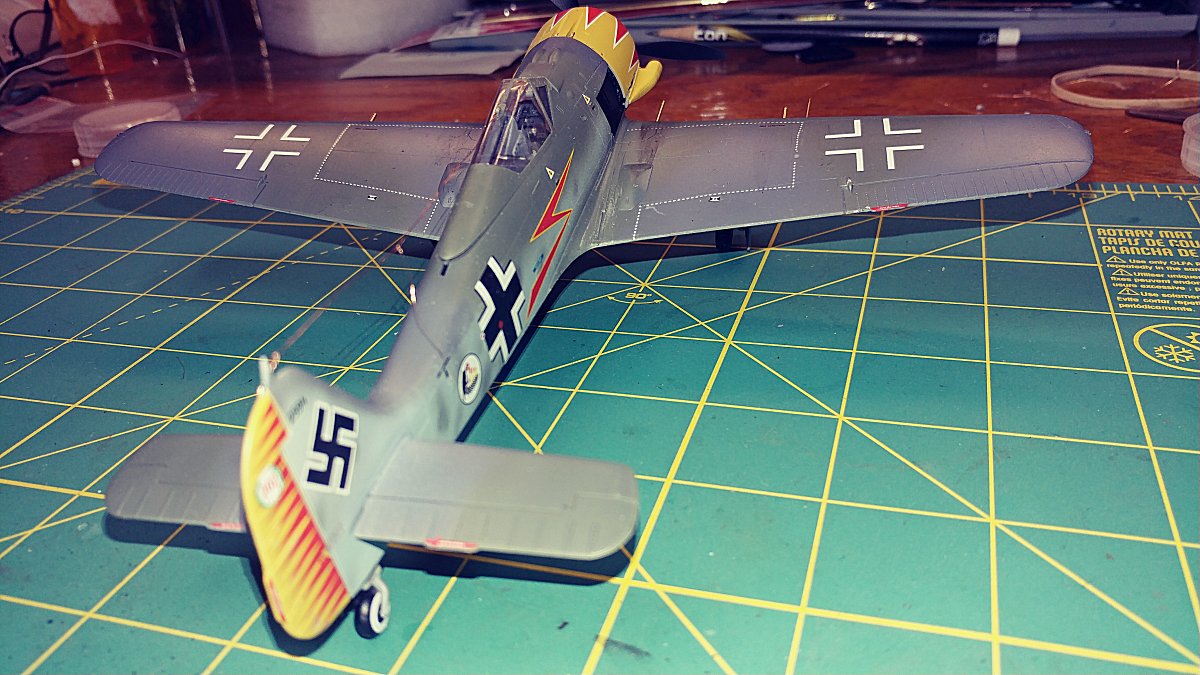
This is one of those Limited Edition Kits that Hasegawa puts out. It's been on my shelf for a while and might be hard to find at this point The bright and colorful paint job will stand out on the shelf next to all the navy gray and olive drab that lives there now. The kit comes with 4 sprues of grey, a sprue of clear and a small bag with the cowl mounted air intakes, and a feature I didn't expect, actual swastikas on the decal sheet rather than the politically correct ones that need to be assembled or outright omitted. |
| The Build
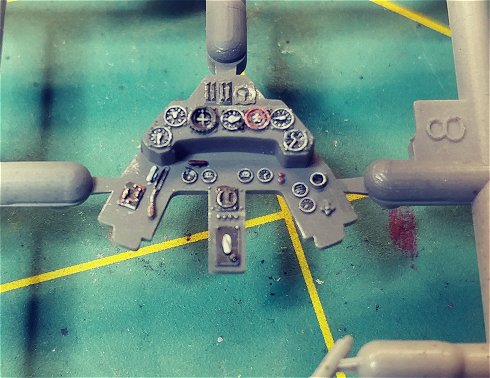
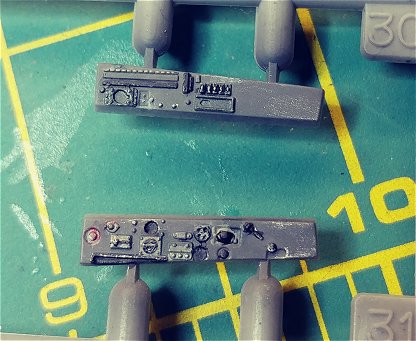
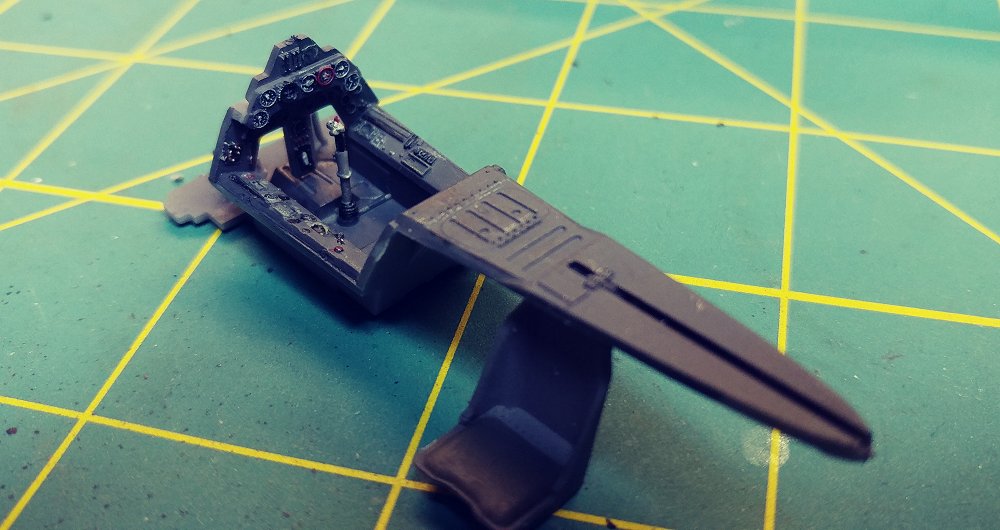
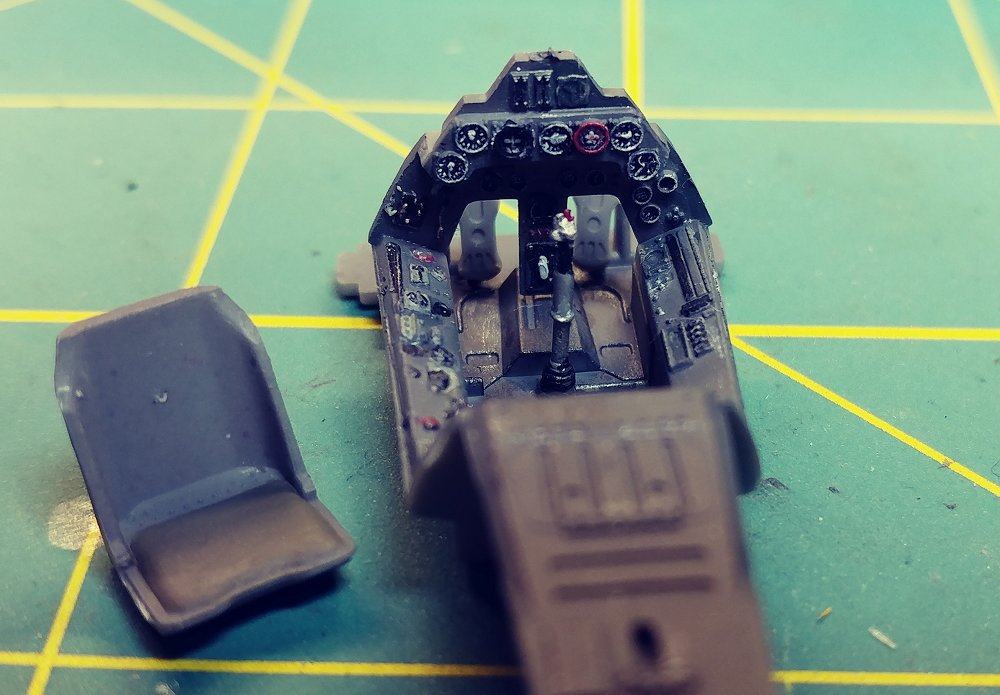
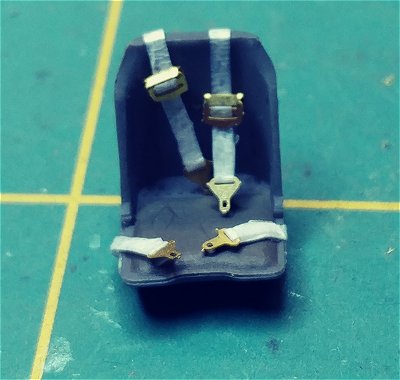
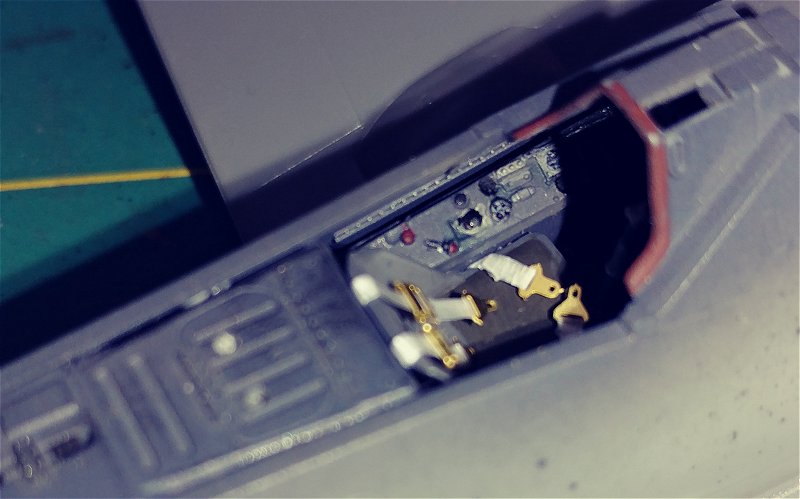
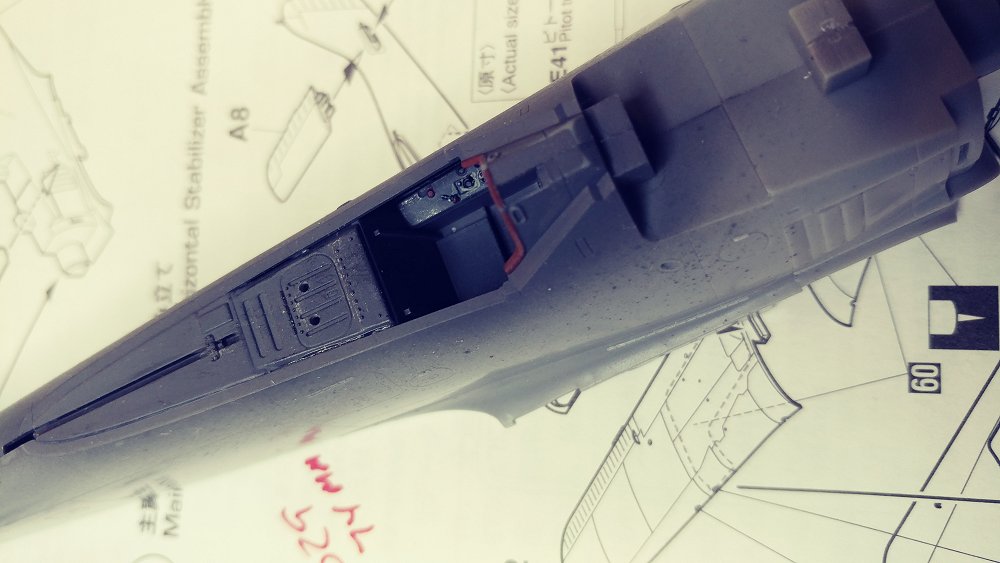
Cockpit
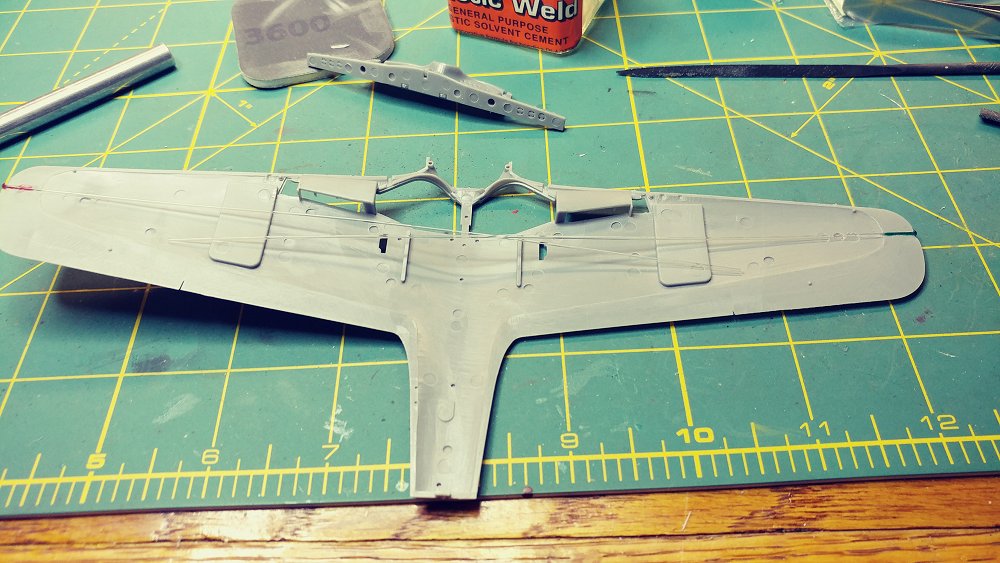
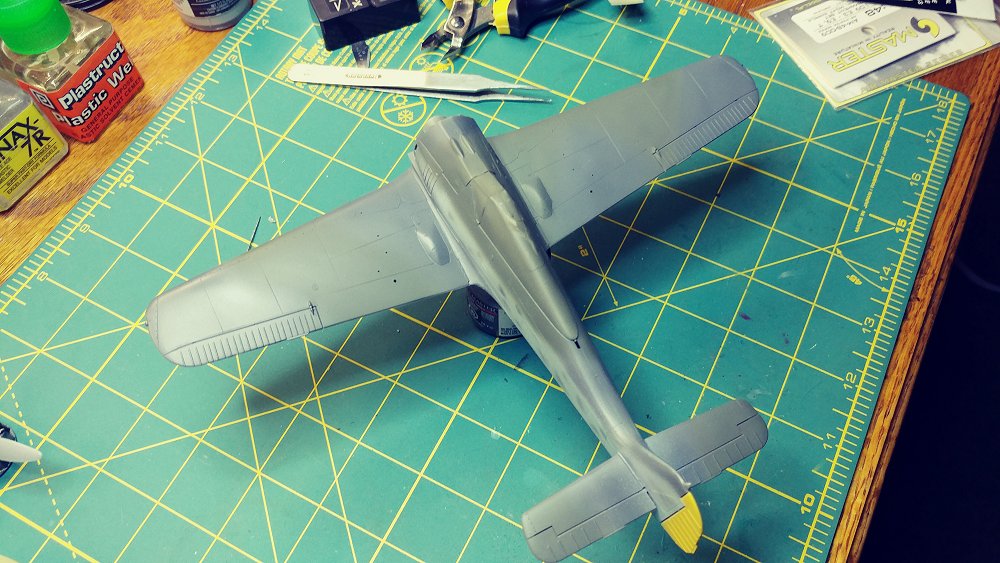
Wings
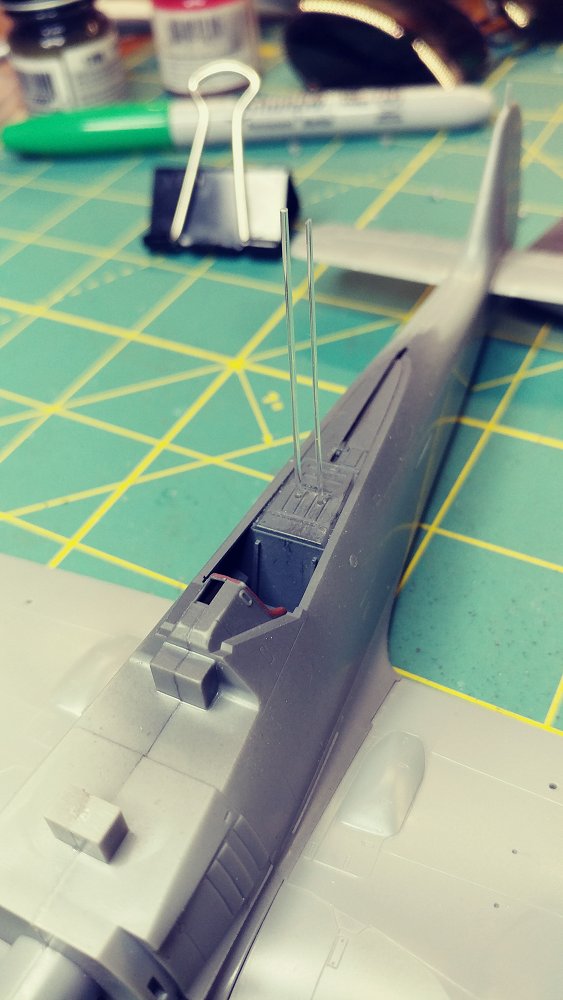
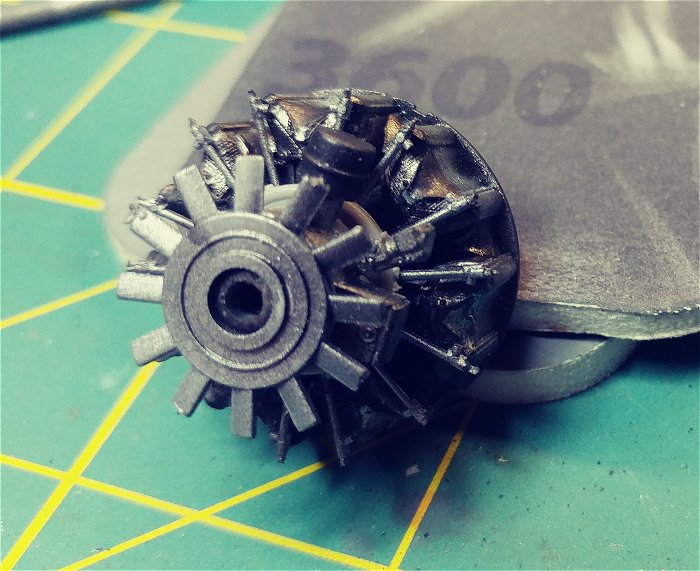
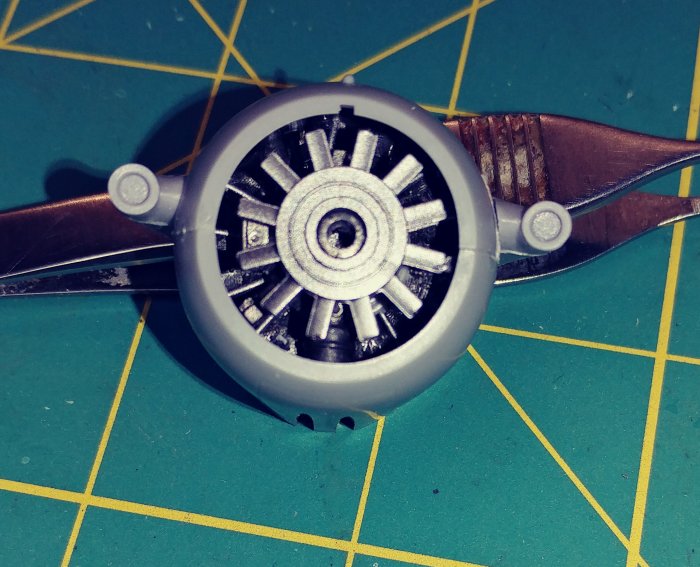
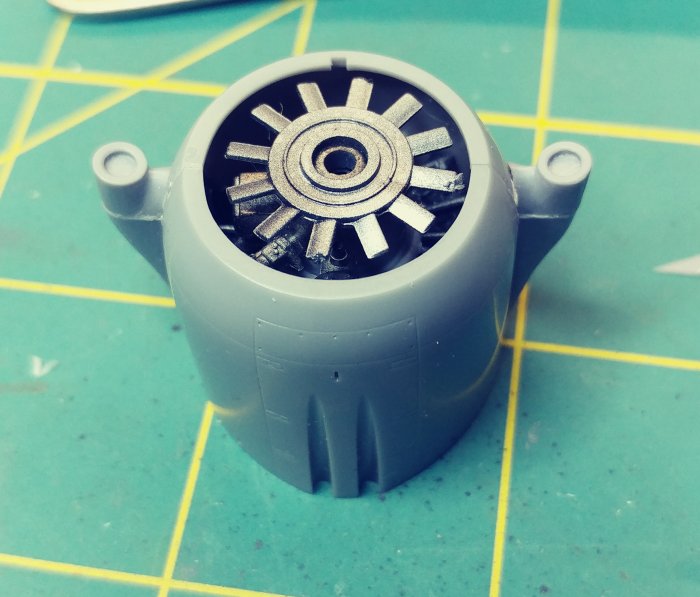
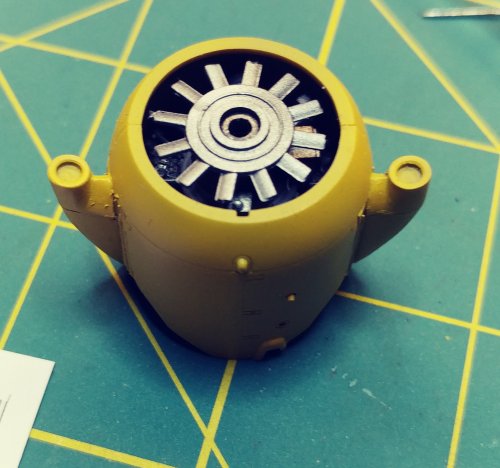
Engine & Cowling
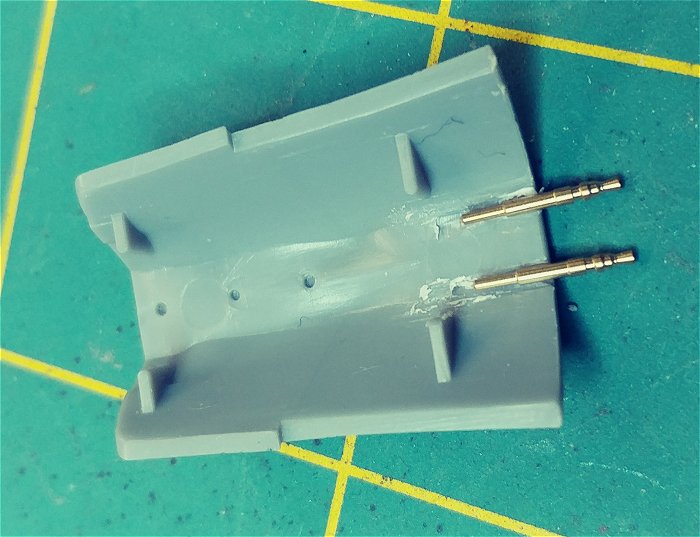
There are two, 13mm machine gun barrels protruding from the weapons bay cowling.
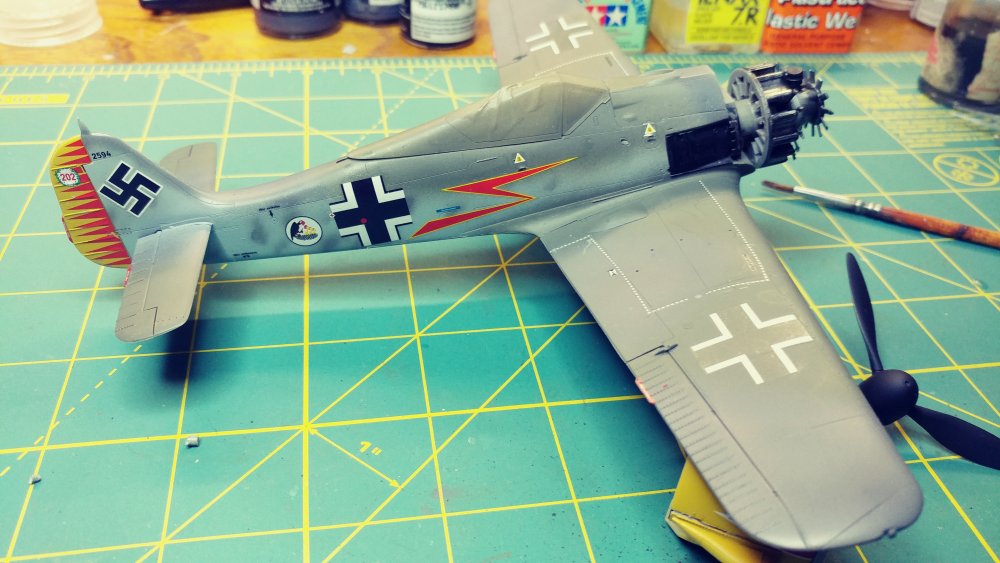
Paint & Markings
Love the decal set, They lift off the paper easily and slide right into place. A little water if you need to adjust and they'll settle into panel lines nicely with a little solvaset.
Once dry I peeled the mask off the canopy and installed the weapons, the Barrels were chemically blackend.
|


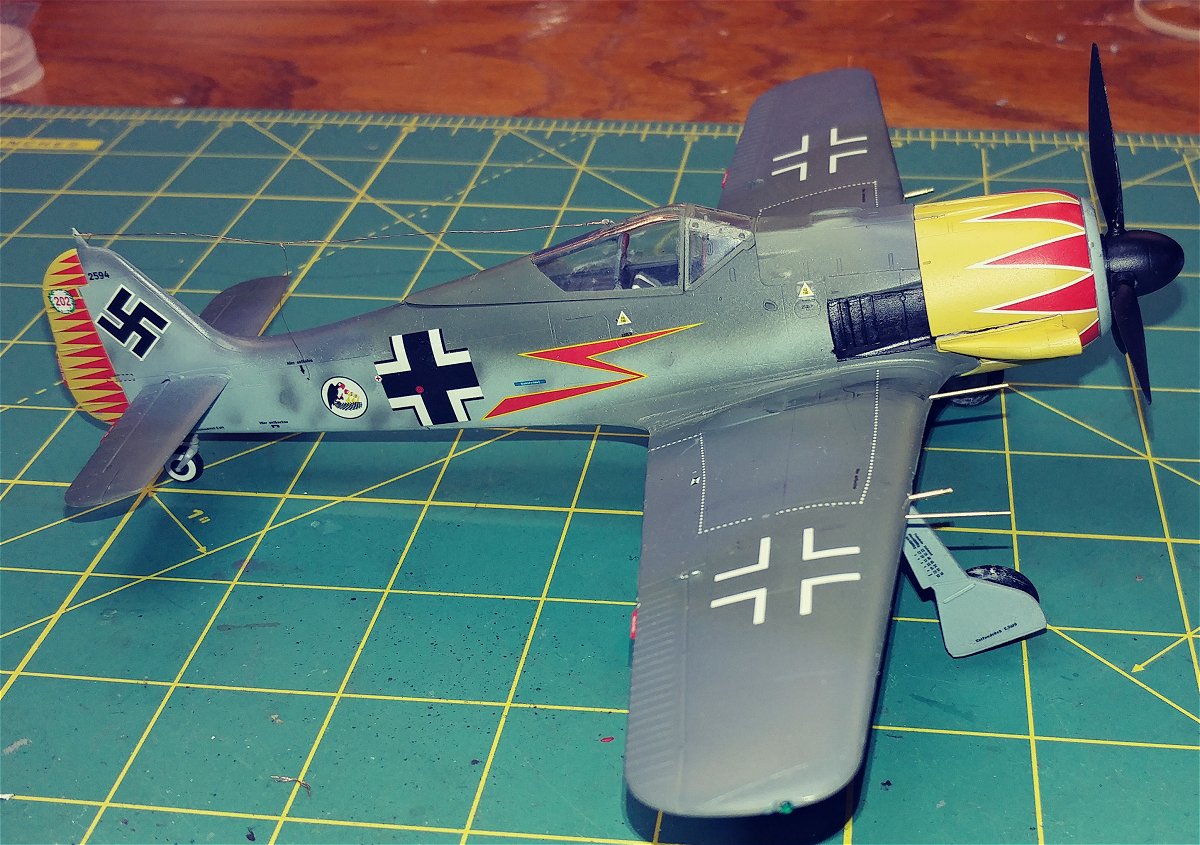
| Overall I enjoyed building this kit. The original intent was to try out a few techniques for an upcoming project. In this case using fiberoptics for the navigation lights with ambient light source. It worked to an extent but the light source needed to be stronger.
As for the kit, The cockpit details were easily painted and enhanced by dry brushing. The fit was good except for the cowl mounted air intakes. They seems to be some sort of plastic that was resistant to every type of cement I had and ended up using gorilla glue to keep them in place |
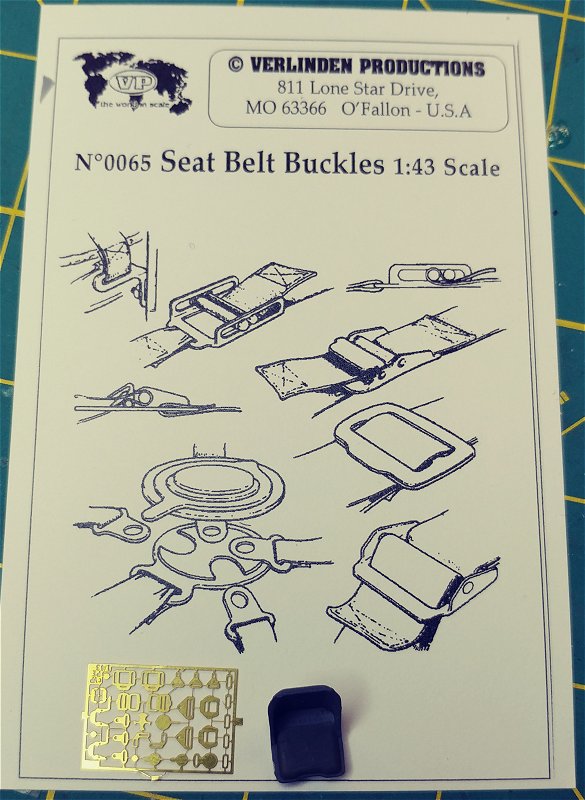
| Products used in Construction
Model Master AM48-017. Fw 190 A2 - A5 armament set |