 | ||
 |
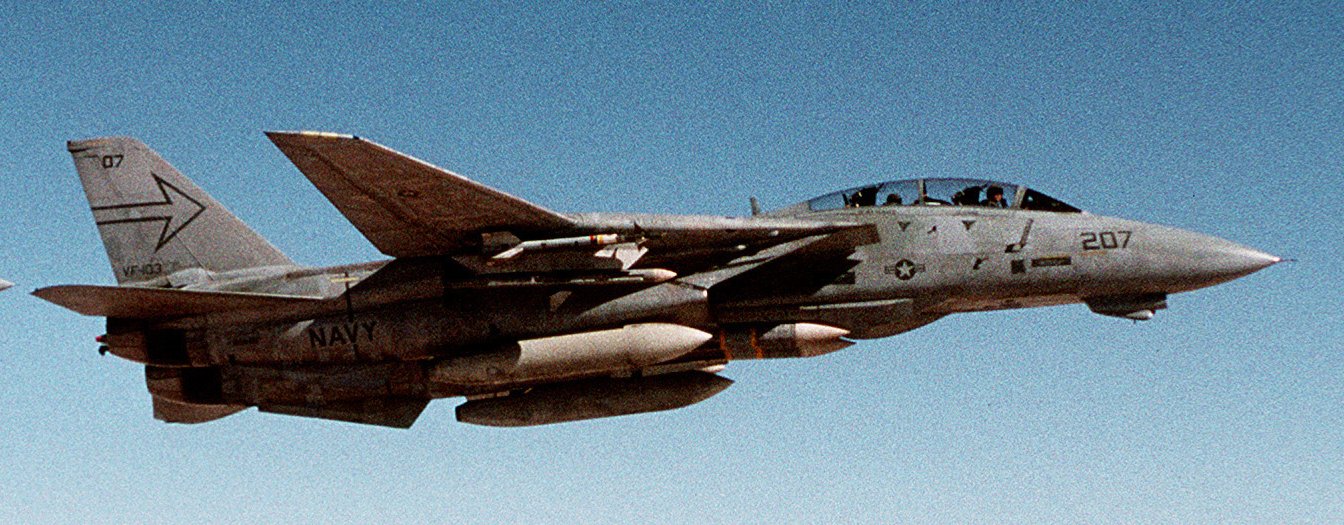
Grumman F-14A+ Tomcat
VF103 Sluggers AA207, BuNo 162924 "Boots" & "Radar" |
 |
On The Bench
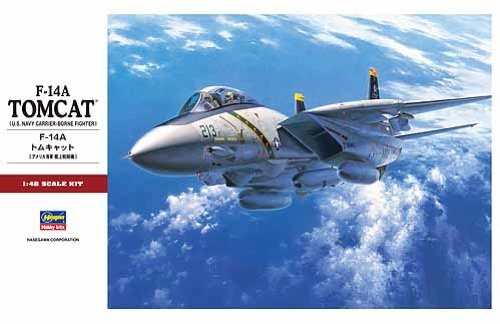
| The Kit | |
| I've been procrastinating on this project for a while. I had bought the Verlinden upgrades in advance, but the Hasegawa kit suddenly disappeared from the market as I was about to buy it, and I wasn't about to pay the ransom they wanted on a certain auction site. I bought the Academy kit, but the manner in which the nose section went together was not conducive to my feeble skills so it's been shelved (literally and figuratively). Now that the Hasegawa kit has re-emerged it's time to get it on track again so as usual, I've lost my mind and ordered even more after market parts, some of which I probably won't use.
My plan is to light this aircraft up using nano LED's and Fiberoptics. How much of the cockpit gets lit up will depend on my ability to modify the after market parts.
|
 |
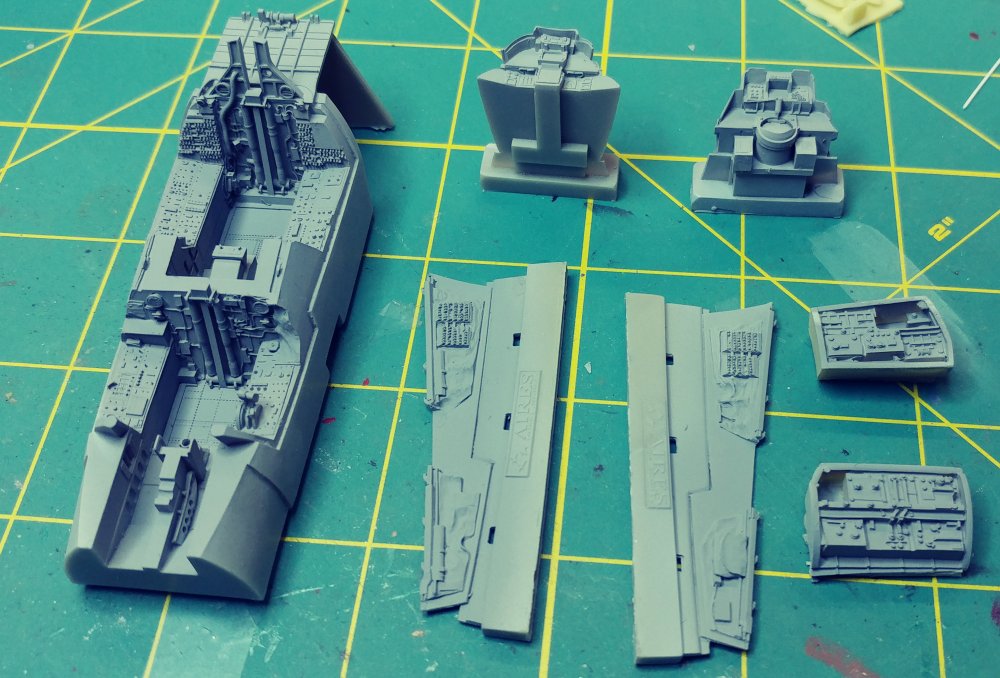
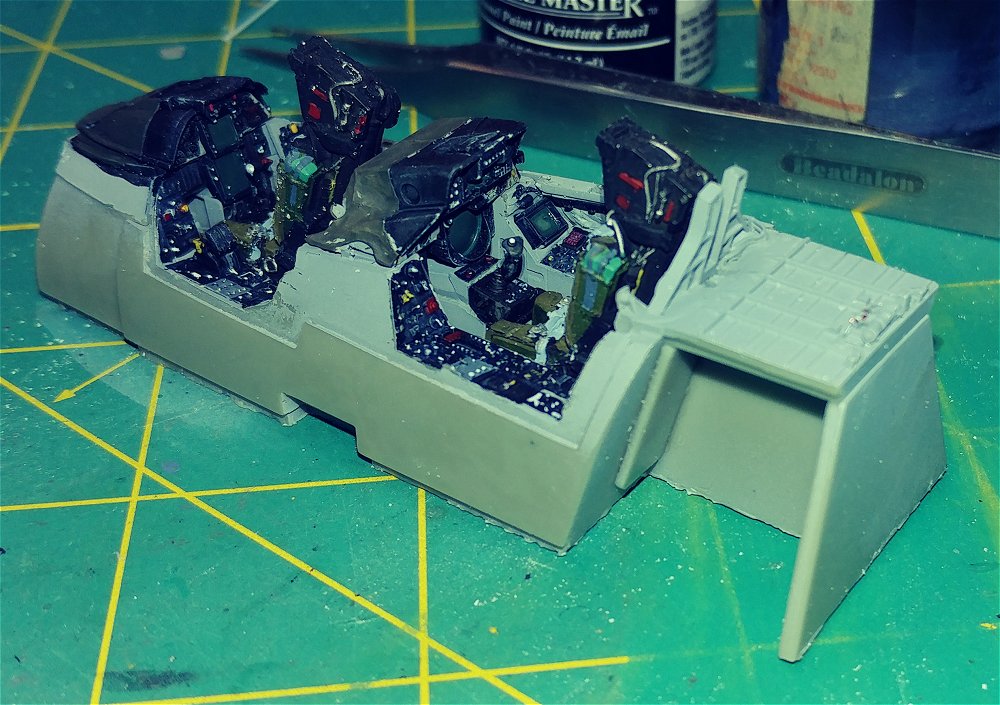
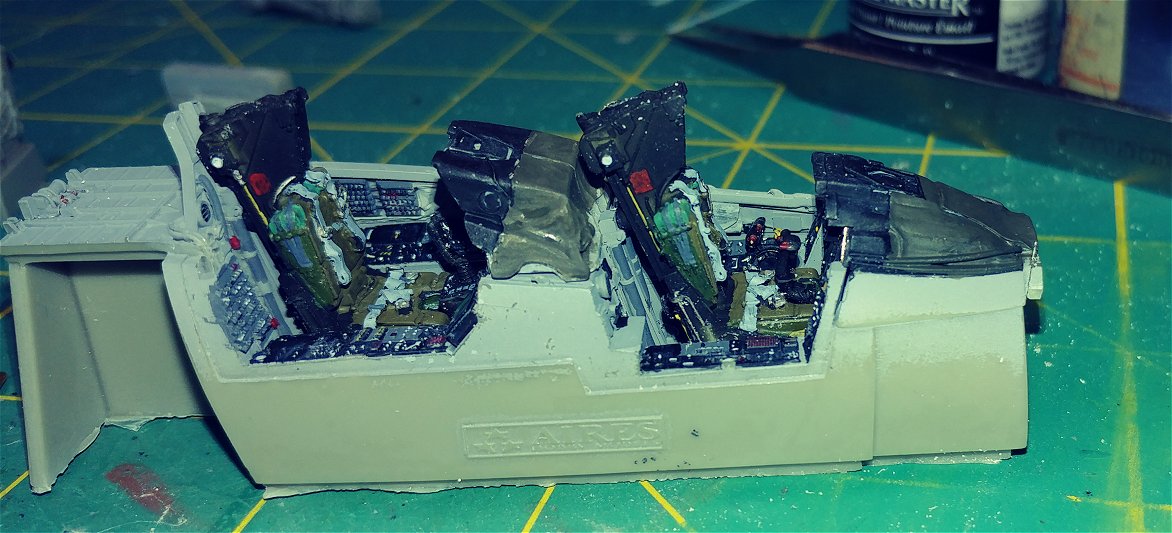
| Cockpit |
| Like Most aircraft, we begin at the cockpit. I plan on using the Aries set which is an extensive, well detailed model+ kit by itself. The original plan was to drill out the crt's and radar screens in both cockpits then fill the holes with epoxy to simulate the screen and then drill out and replace the indicator lights with fiberoptics but the sheer thickness of the resin made that difficult at best.
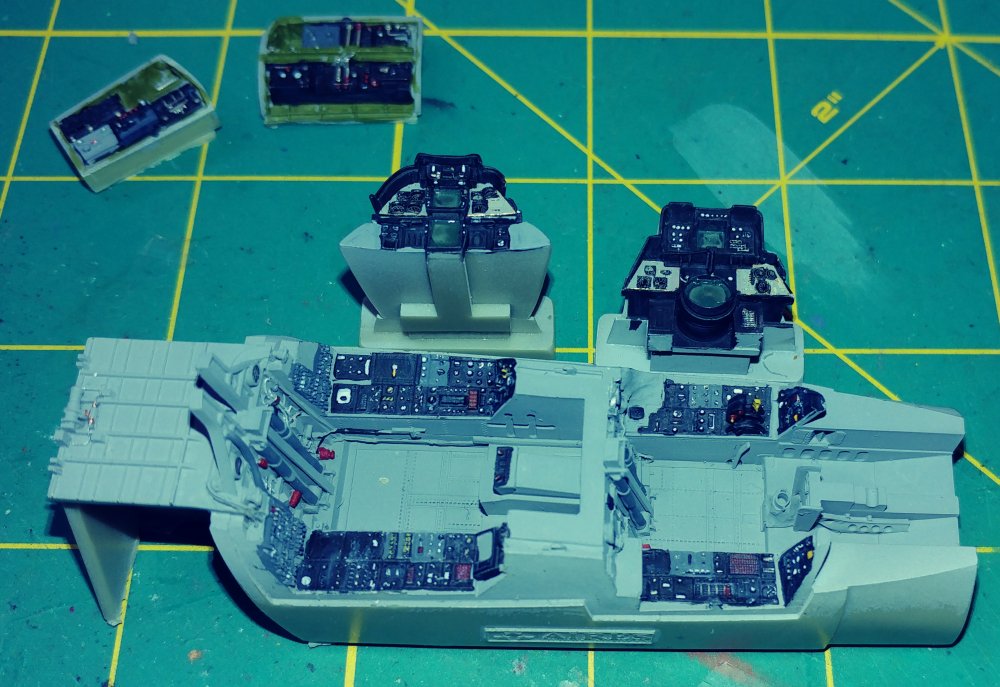
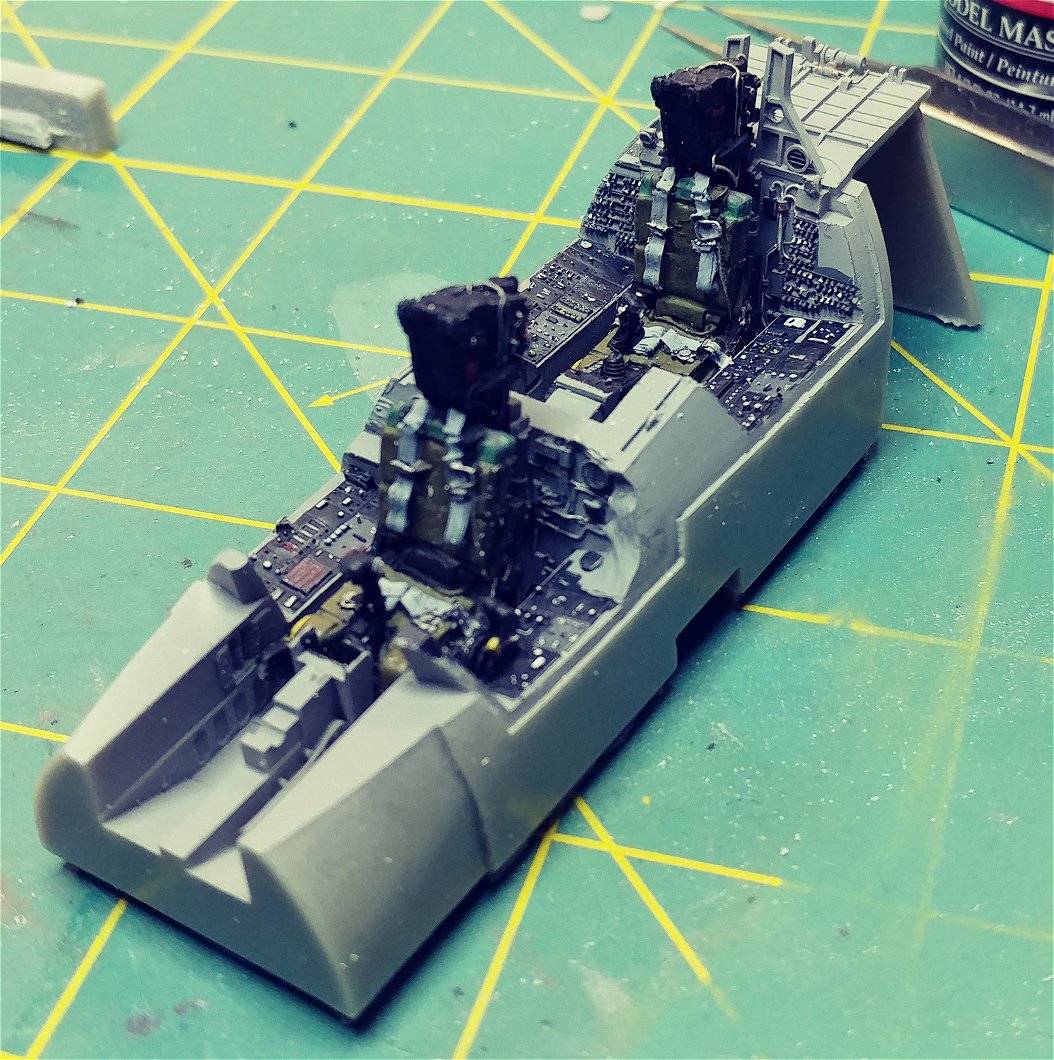
A coat of primer and a base of Haze gray and the details of the cockpit pop out. Most of the individual panels were painted black, white and silver details and a little red and yellow to break up the monotony.
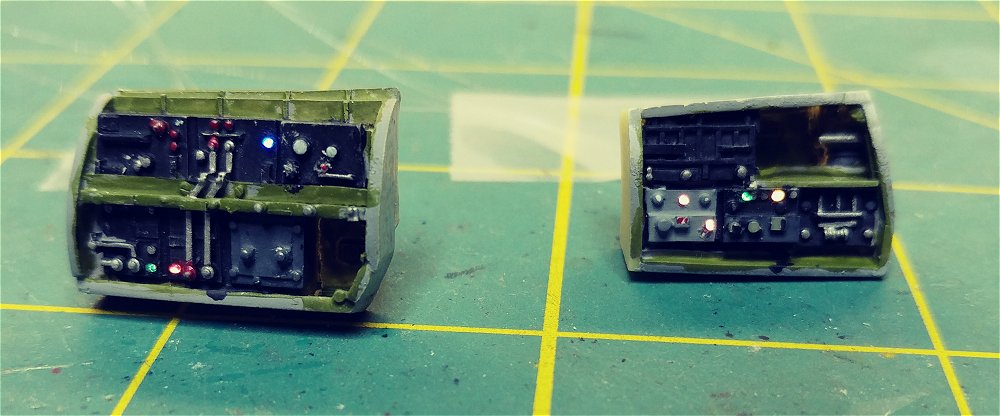
The circuit breakers in the Rio compartment were dry brushed with various colors
|
|
| Fuselage
Most of this build will revolve around the cockpit tub. I have several upgrade sets I plan on using besides the cockpit. The nose of the aircraft will require extensive modification in order to fit all the resin parts
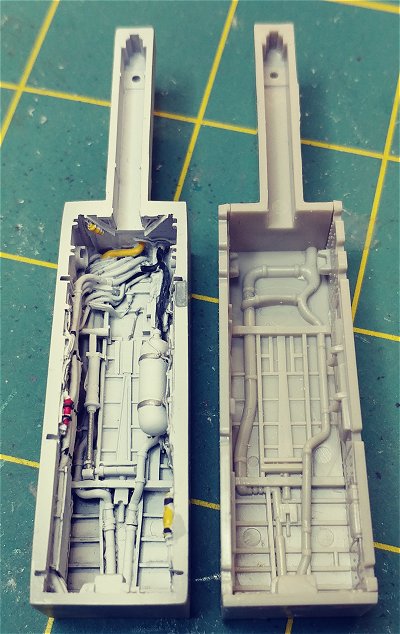
The Verlinden set includes avionics bays and the compartment containing the 6 barrel vulcan cannon. Avionics Bays
|
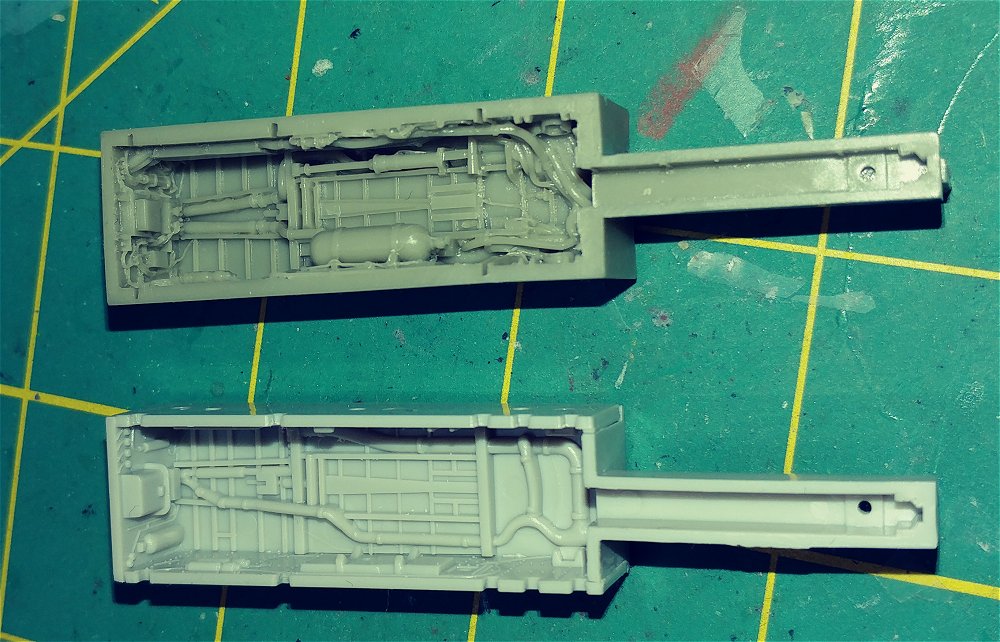
| Forward Landing Gear Bay
I'll be using the Aires Wheel bay set which are highly detailed with pipes and hoses etc. The forward gear bay is almost the exact same size as the kit bay requiring a minimal amount of sanding to fit in place.
|
| Rear Fuselage
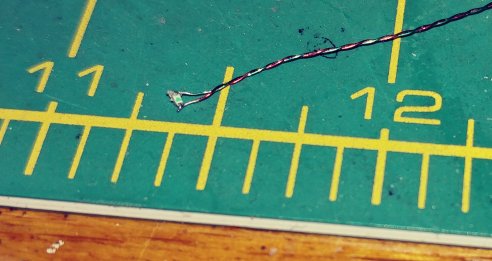
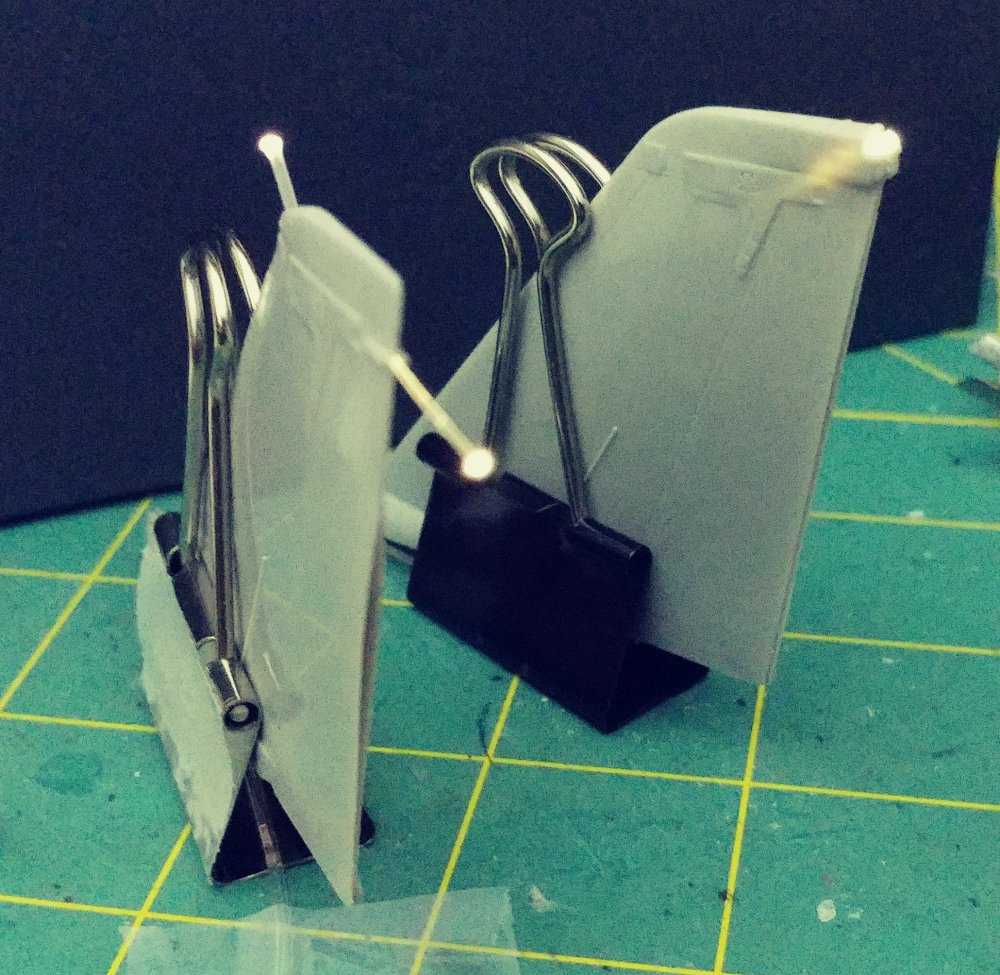
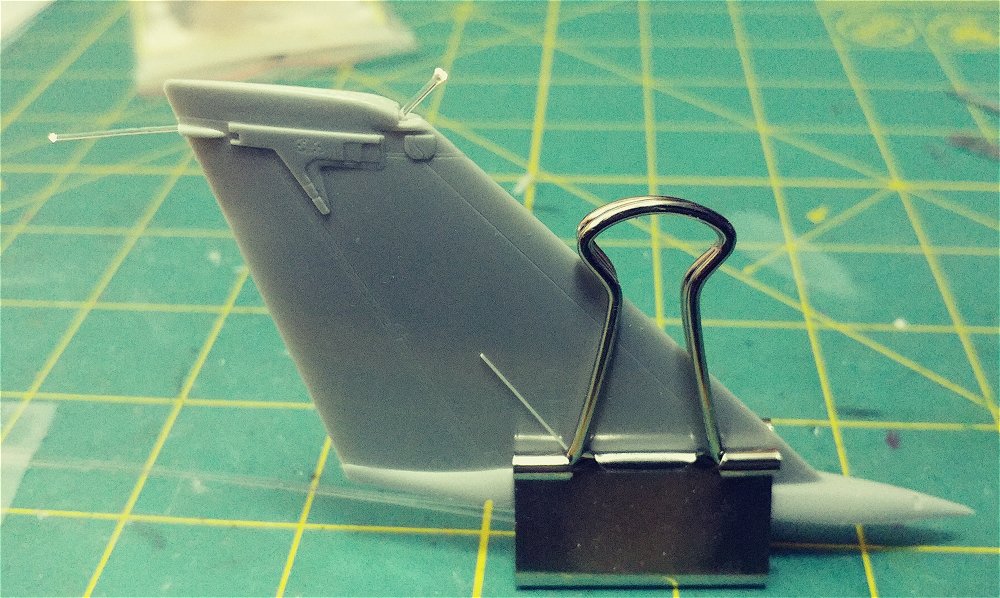
Vertical Stabilizers There are three lights on the twin tail, two red anti-collision and a position light. To install the fiberoptics for these I needed to drill holes and cut channels on the interior surfaces for the cable. The formation light are going to be painted with a glow in the dark paint. The Formation light is .25mm fiber and the anti-collision are .50 mm. The light source is mounted on the rear bulkhead of the cockpit section. The ends will be mushroomed and pulled through into position once the topcoat has dried.
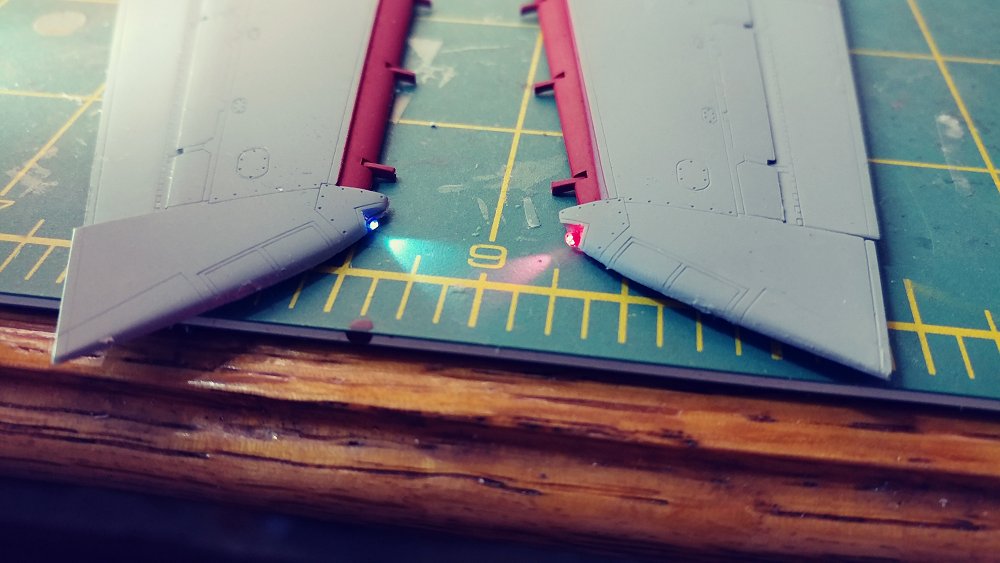
Wings Pretty straight forward assembly, The wings can be positioned open, closed or somewhere in between. I did find a small but surprising amount of flash on these parts The Flaps are also positionable but since I'm building it with wings closed, they will be retracted The tips were drilled out to fit .75 mm Fiberoptic cable and the lenses will be colored red port & Blue Starboard.
|
| Main Landing Gear
This is where I ran into trouble. |

The main landing gear bays turned out to be my downfall on this kit. (See Below) |
|
|
| Back on the bench. I definitely bit off more than I can chew with this project and ended up purchasing a 2nd kit to complete it.
After spending hours, trimming and thinning I began to become uncomfortable with the amount of material I was removing from the upper fuselage half and still not able to close the gap between the top and bottom halfs, and I had removed the part on the lower fuselage that would hold the Main Gear strut. Simple enough repair, just close the gear door and display it in flight. no big deal, except for the open Avionics bays. At some point I'll build a 2nd aircraft with the leftover parts and lord knows I have enough decal sets kicking around atr this point. |


|
Products being used in construction
(I even used some of the actual kit parts) Master Model
Aires
Verlinden
Afterburner Decals
|